
Yes, you can often replace a kitchen sink without changing your countertop. This is usually possible, but it depends on your current sink type, the new sink you want, and your countertop material. If you have a drop-in sink, replacing it is often simpler. Replacing an undermount sink is a bit harder. We will look at all your choices here.
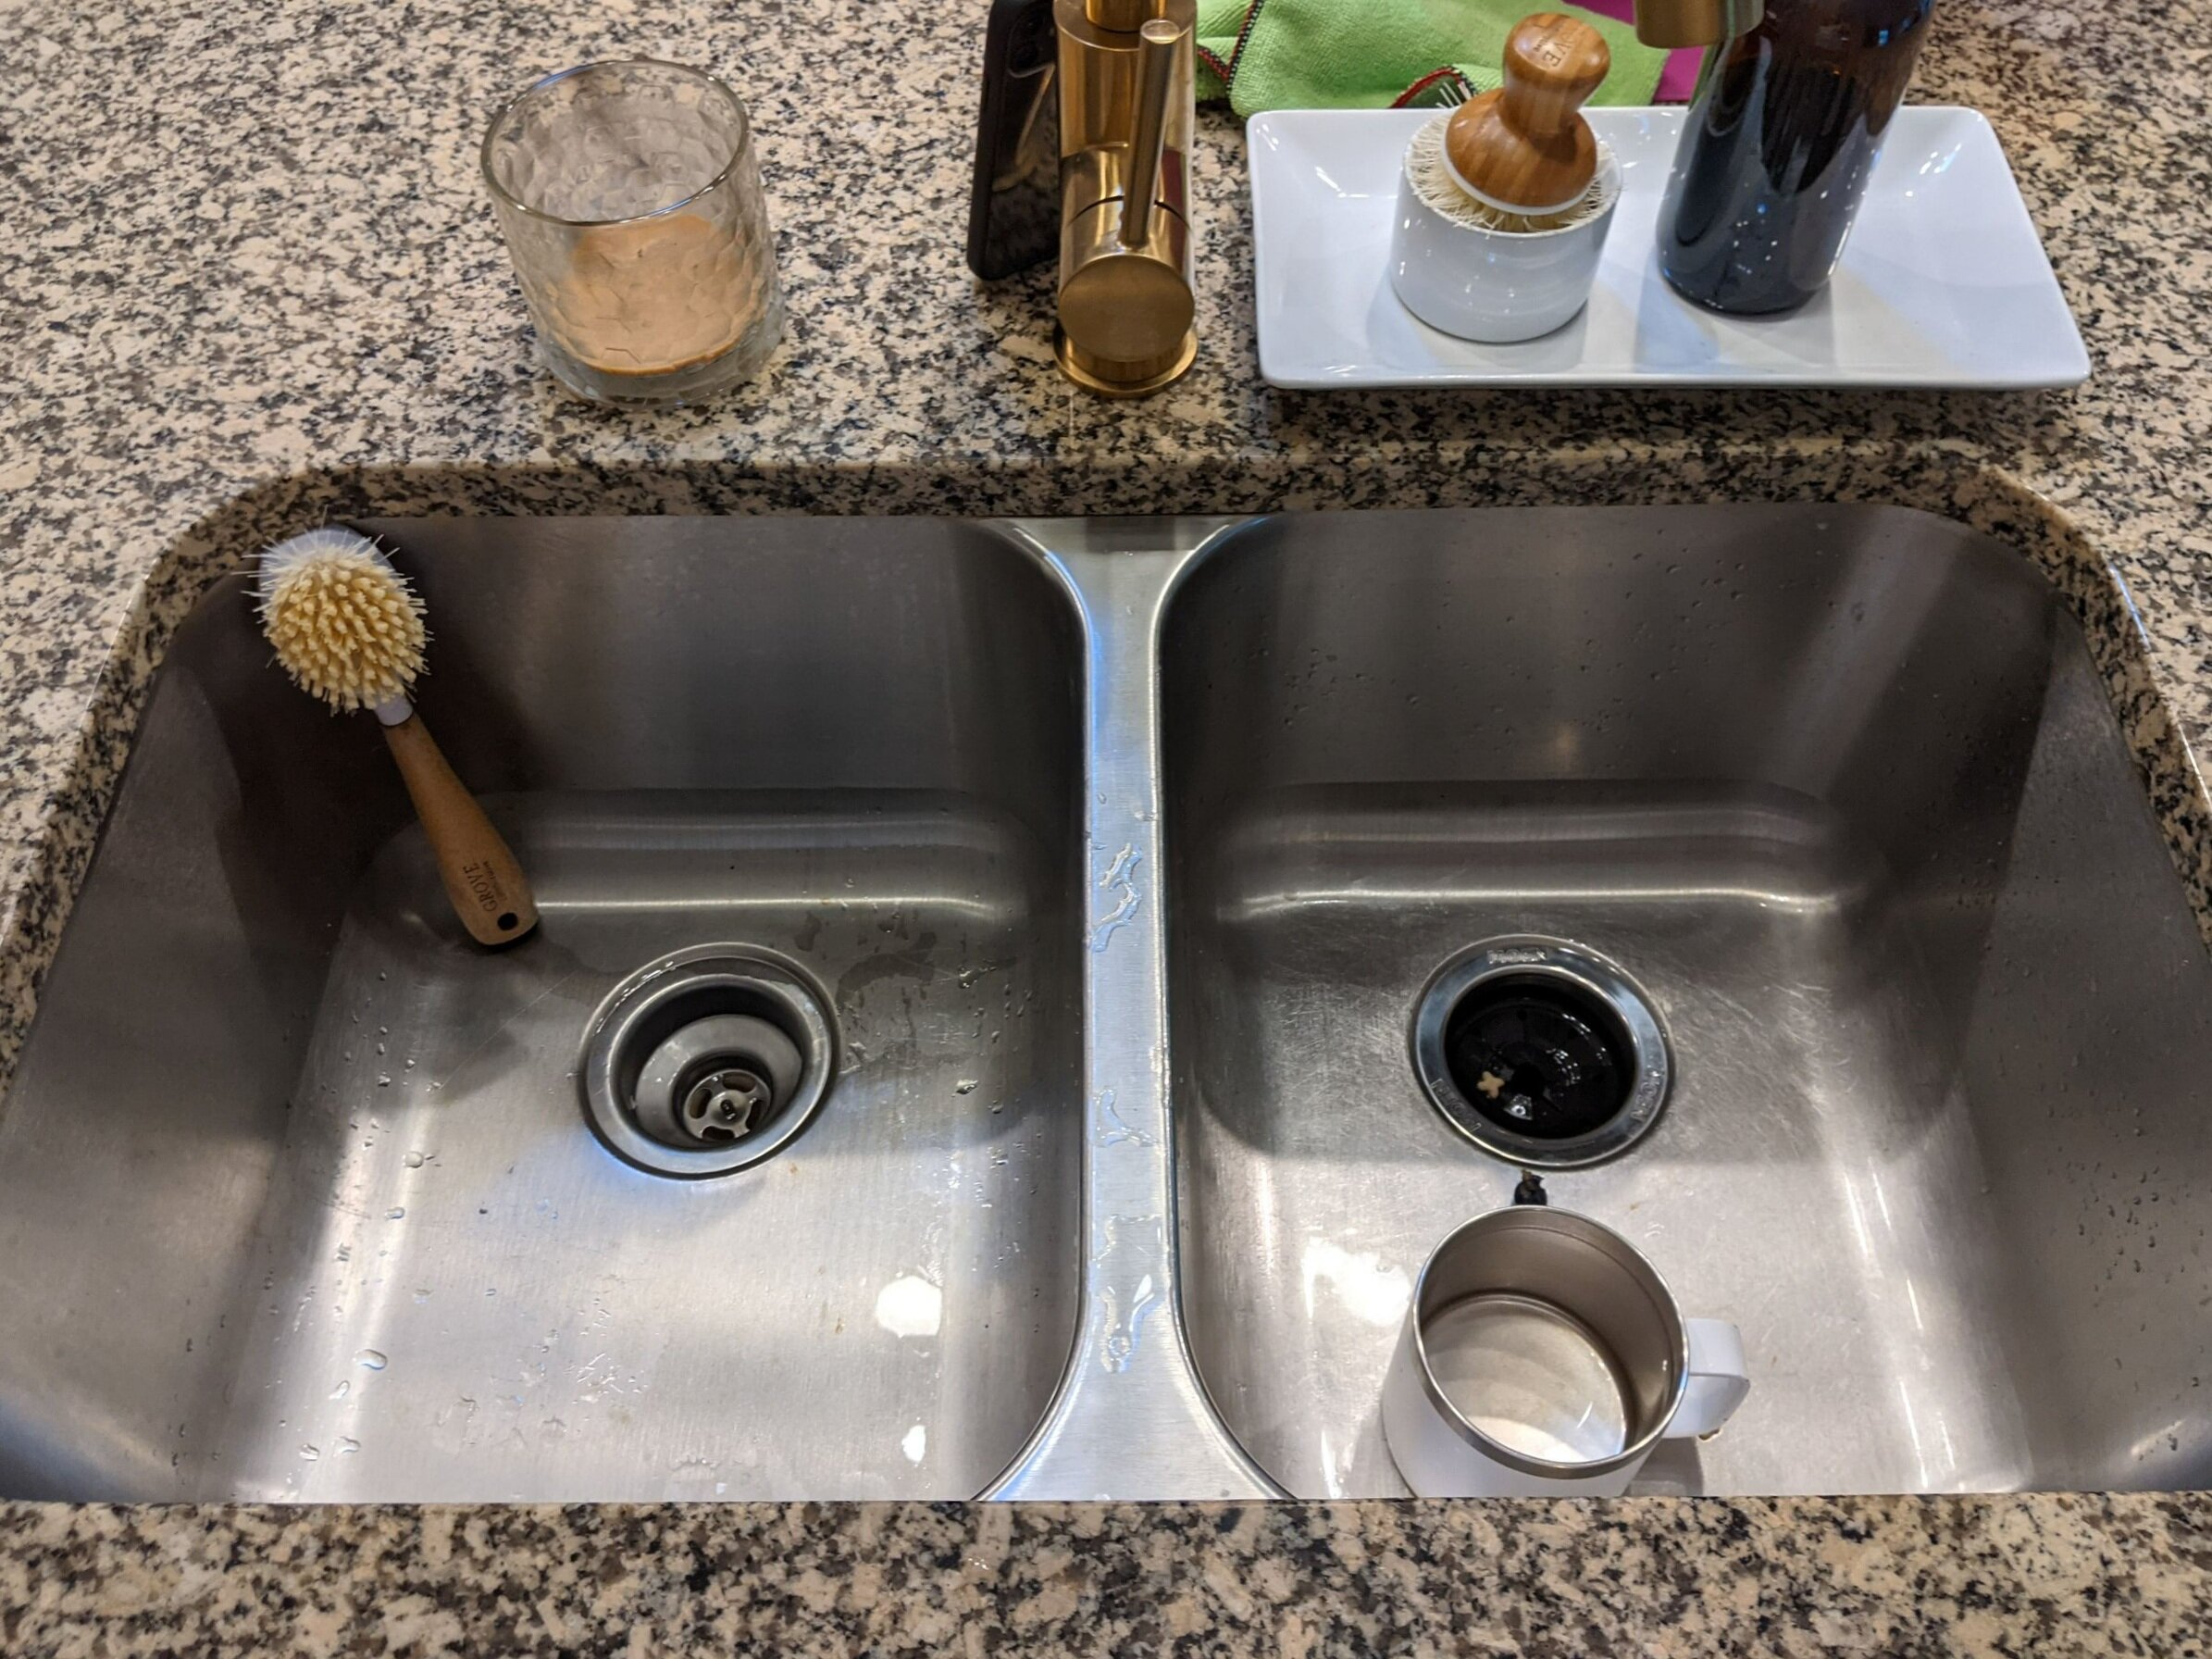
Image Source: images.squarespace-cdn.com
Grasping Sink and Countertop Types
Before you start, know your sink and countertop. This helps you decide what is possible.
Sink Varieties and Their Fit
Kitchen sinks come in a few main styles. Each one fits into the counter in a different way.
- Drop-in Sinks (Top-Mount Sinks): These sinks drop into a hole in the counter. The rim of the sink rests on top of the counter. They are very common. They are often the easiest to replace. You can remove the old one and put a new one into the same hole.
- Undermount Sinks: These sinks attach to the bottom of the counter. The counter material goes right up to the sink’s edge. This gives a smooth, clean look. Removing them is harder than drop-in sinks. Installing them needs strong support.
- Farmhouse Sinks (Apron-Front Sinks): These sinks have a front part that sticks out past the cabinets. They need special cabinets to hold them up. Replacing them often means changing cabinets or cutting more of the counter. This can be complex.
- Integrated Sinks: These sinks are made from the same material as the counter. They are one piece. You cannot replace just the sink part. You must replace the whole counter.
Countertop Materials and Their Traits
The material of your countertop matters a lot. Some materials are easier to work with than others.
- Laminate Countertops: These are made of pressed wood with a plastic layer on top. They are common and affordable. They are easy to cut. But they can swell if they get wet around the sink hole. So, sealing is very important. A
laminate countertop sink upgradeis often straightforward for drop-in sinks. - Solid Surface Countertops (like Corian): These are man-made materials. They are easy to cut and fix. They can be sanded to look new. They are good for both drop-in and undermount sinks.
- Natural Stone Countertops (Granite, Marble, Quartzite): These are strong and heavy. They look nice. Cutting them needs special tools and skills. It is easy to chip or crack them.
Granite sink installation without removing counteris very possible. But it needs care. - Engineered Stone Countertops (Quartz): These are made from stone bits and resin. They are very tough. They are similar to natural stone for cutting. They also need special tools and care.
- Tile Countertops: These have tiles set on a base. They can be hard to work with. The grout lines make sealing tough. Replacing a sink can mean breaking tiles around the old sink.
The Feasibility of Replacement Without Countertop Change
Replacing your sink without touching the counter is often possible. It depends on fitting the new sink into the existing sink hole fitting.
When a New Sink Fits
The easiest case is when your new sink is the same size or bigger than your old one.
- Same Size Drop-in: If your old sink was a drop-in and your new one is also a drop-in of the same size, it is a very simple
drop-in sink replacement. You just take out the old one and put in the new one. - Larger Drop-in: If your new drop-in sink is bigger, you might need a
sink cutout adjustment. This means making the hole bigger. This is easier than making it smaller. You can cut more material from the counter. - Same Size Undermount: If you have an undermount sink and want to replace it with another undermount of the same size, it is possible.
Undermount sink removalcan be tricky. But putting a new one in the same spot is doable.
When a New Sink Needs Adjustments
Sometimes, the new sink does not perfectly match the old hole.
- Making the Hole Bigger: This is common if you want a larger sink. You can use a jigsaw for laminate or solid surface. For stone counters, you need a special diamond blade and a professional. A careful
sink cutout adjustmentcan expand the hole. - From Drop-in to Undermount: This is a big change. The hole for a drop-in sink is usually smaller than the actual sink. For an undermount sink, the hole needs to be bigger. It must match the inside of the sink bowl. You will need to cut the counter. This is a major
sink cutout adjustment. It might not be possible for all countertop materials without professional help. - From Undermount to Drop-in: This is harder. The hole for an undermount sink is usually the same size as the sink bowl. A drop-in sink has a rim that sits on the counter. If your new drop-in sink is much bigger than the old undermount hole, it might work. But if the new drop-in sink is smaller, the old hole will show around the edges. This often means you need a new countertop.
Necessary Tools for the Swap
Having the right tools for sink replacement makes the job easier and safer.
Essential Hand Tools
These are the basics you will need for almost any sink replacement job.
- Adjustable Wrench: For tightening and loosening nuts on water lines and drains.
- Basin Wrench: This long wrench helps reach nuts in tight spots behind the sink.
- Screwdrivers (Phillips and Flathead): For various screws on drain parts or sink clips.
- Utility Knife: For cutting caulk, sealant, or marking cuts.
- Caulk Gun: For applying new sealant around the sink.
- Putty Knife/Scraper: For removing old caulk and gunk.
- Bucket: To catch water when disconnecting pipes.
- Sponges/Rags: For cleaning up water and messes.
- Pliers: For holding things or loosening stubborn connections.
Power Tools (If Needed)
Some jobs, especially those with sink cutout adjustment, need power tools.
- Jigsaw: For cutting laminate or solid surface countertops to make the hole bigger. Use the right blade for the material.
- Angle Grinder with Diamond Blade: Absolutely necessary for cutting granite, quartz, or other stone countertops. This is a job for pros.
- Drill: For drilling pilot holes or removing screws.
- Work Light: A good light helps you see inside the dark cabinet.
Safety Gear
Always put safety first.
- Safety Glasses: Protect your eyes from debris, water, or chemical splashes.
- Gloves: Protect your hands from sharp edges, dirt, or cleaning chemicals.
- Dust Mask: If cutting countertops, wear a mask to avoid breathing in dust.
The Path to a New Sink: Step by Step
This general guide covers the main steps for a DIY kitchen sink swap. Specific details may vary based on your sink and counter types.
H3. Preparing for the Swap
Good prep saves time and prevents problems.
- Clear the Area: Take everything out from under the sink cabinet. Empty the sink.
- Shut Off Water: Find the shut-off valves under the sink. Turn them clockwise until they are tight. Turn on the faucet to make sure no water comes out.
- Disconnect Drain Pipes: Put a bucket under the drain. Loosen the nuts on the P-trap (the U-shaped pipe) and remove it. Disconnect any other drain lines.
- Disconnect Water Lines: Use an adjustable wrench to loosen the nuts on the hot and cold water supply lines. Let any leftover water drain into your bucket.
- Remove the Garbage Disposal (if you have one): Unplug it first. Then, loosen the mounting screws or ring that holds it to the sink drain. Twist it to release it. It is heavy, so be ready to support it.
H3. Taking Out the Old Sink
This step is where undermount sink removal or drop-in sink replacement begins.
H4. Removing a Drop-in Sink
- Find the Clips: Look under the sink rim. You will see clips or screws holding the sink to the counter.
- Loosen Clips: Use a screwdriver or wrench to loosen and remove all these clips.
- Cut the Sealant: The old sink is likely sealed to the counter with caulk or silicone. Use a utility knife to cut this seal all around the edge of the sink where it meets the counter. Score it well.
- Lift the Sink: Carefully push up from below or pry gently from above. The sink should come loose. Have someone help you lift it out, especially if it is heavy.
H4. Removing an Undermount Sink
Undermount sink removal is more involved.
- Remove Mounting Brackets: Undermount sinks are held by clips, brackets, or even blocks of wood glued to the counter. Remove all these supports. For stone counters, the sink might be glued directly.
- Cut the Adhesive: If it is glued, use a utility knife to carefully cut through the adhesive or silicone seal between the sink and the countertop. This can be tough.
- Support the Sink: The sink is heavy. Have someone hold it firmly from below as you work. Once the supports are gone, it can drop.
- Lower and Remove: Carefully lower the sink and pull it out from under the counter.
H3. Preparing the Countertop for the New Sink
This step is key for existing sink hole fitting and sink cutout adjustment.
- Clean the Opening: Scrape away all old caulk, sealant, and gunk from the countertop opening. Use a putty knife and a cleaner like mineral spirits. The surface must be clean and dry for the new seal.
- Check the Fit: Place your new sink into or under the opening. Make sure it fits well.
- Adjusting the Cutout (If Needed):
- For larger hole (drop-in or undermount): Mark the new cut lines carefully. Use a jigsaw for laminate or solid surface. Go slowly. For stone, mark carefully, but call a pro.
Sink cutout adjustmenton stone is very risky for a DIYer. - For smaller hole (undermount only): For undermount, the hole needs to match the inside of the sink. If your old sink was smaller, you will need to expand the hole.
- Dealing with a too-big hole (less common): If your new drop-in sink is much smaller than the old hole, or if the old hole from an undermount sink is bigger than your new drop-in sink’s rim, you have a problem. You might need a new counter, or a custom trim ring. This is why
existing sink hole fittingis so important.
- For larger hole (drop-in or undermount): Mark the new cut lines carefully. Use a jigsaw for laminate or solid surface. Go slowly. For stone, mark carefully, but call a pro.
H3. Installing the New Sink
Now, put the new sink in place.
- Install Faucet and Drains on New Sink: It is much easier to install the faucet, spray hose, soap dispenser, and drain assemblies onto the new sink before you put the sink in the counter. Make sure all parts are tight and sealed with plumber’s putty or gaskets as needed.
- Apply Sealant: This is the
kitchen sink sealing process.- For Drop-in Sinks: Apply a bead of silicone caulk (kitchen and bath type) along the edge of the sink opening on the countertop. Or, apply it to the underside of the new sink’s rim.
- For Undermount Sinks: Apply a continuous bead of silicone caulk around the top edge of the sink where it will meet the counter.
- Set the Sink:
- Drop-in: Carefully lower the new sink into the opening. Make sure it lines up straight. Press down firmly to seat it in the sealant.
- Undermount: Carefully lift the sink and push it up against the underside of the counter. Have someone hold it firmly in place.
- Secure the Sink:
- Drop-in: Attach and tighten the mounting clips or screws from below. Do not overtighten, or you could crack the counter or warp the sink.
- Undermount: Install the new mounting clips or brackets according to the sink’s instructions. Make sure they are tight and the sink is fully supported. For
granite sink installation without removing counter, strong adhesive and specific mounting hardware are key. Some pros might even use custom wood blocks and screws.
- Wipe Away Excess Sealant: Use a damp cloth or your finger (wet with a little soapy water) to smooth and wipe away any extra caulk that squeezes out. Do this before it dries.
H3. Connecting Plumbing and Testing
Almost done!
- Connect Drain Pipes: Reattach the P-trap and any other drain lines. Hand-tighten connections, then use a wrench for a quarter turn more.
- Connect Water Lines: Reconnect the hot and cold water supply lines to the faucet. Tighten them firmly but do not strip the threads.
- Install Garbage Disposal (if you have one): Attach the disposal to the new sink drain. Follow the instructions for your specific model.
- Turn on Water: Slowly turn the main water supply back on. Check under the sink for any leaks.
- Test the Faucet and Drains: Run water through the faucet. Check the drain for leaks. Fill the sink and let it drain completely, looking for any drips or puddles. Check all connections. Tighten any that are leaking.
- Cure Time: Let the sealant cure (dry) as long as the product says before using the sink fully. This is vital for a good
kitchen sink sealing process.
Handling Specific Countertop Materials
Some countertops need special care.
H4. Laminate Countertop Sink Upgrade
- Cutting: Laminate is easy to cut with a jigsaw. Use a fine-tooth blade to prevent chipping the laminate. Cut from the top.
- Sealing: This is most important for
laminate countertop sink upgrade. If water gets into the wood core, it will swell and ruin the counter. Use plenty of silicone caulk. Make sure the seal is perfect. You can also apply a waterproof sealant to the raw edge of the cutout before setting the sink.
H4. Granite, Quartz, and Solid Surface Countertop Challenges
- Cutting: Cutting these materials for
sink cutout adjustmentis very difficult for a DIYer. It needs diamond blades and special tools. You can easily crack the counter or make a huge mess. It is best to hire a stone fabricator for this. - Support for Undermounts:
Granite sink installation without removing counterfor undermounts means making sure the sink is very well supported. The weight of the sink and water can be heavy. Use the right clips, adhesive, and strong support blocks. - Preventing Damage: For
preventing countertop damage sink replacementon stone, be very careful. Do not drop tools. Do not put heavy pressure on edges. Any sharp impact can cause chips or cracks.
Preventing Damage and Solving Problems
Even with care, issues can come up. Preventing countertop damage sink replacement is key.
H4. Common Challenges
- Leaking: This is the most frequent issue. It means the
kitchen sink sealing processwas not perfect or a drain connection is loose. - Sink Not Sitting Flat: The counter might not be perfectly flat, or old gunk is preventing a good seal.
- Cracked Countertop: This happens often when cutting stone or when heavy tools drop.
- Stripped Screws/Nuts: If you overtighten, you can damage the hardware.
H4. Solutions and Tips
- For Leaks:
- First, check all drain connections. Make sure they are tight but not too tight.
- If the leak is around the sink rim, it means the silicone seal failed. You might need to remove the sink, clean everything, and re-seal it. This can be annoying.
- For Uneven Sink: Clean the counter opening thoroughly. Make sure there is no old caulk or debris. Apply a good, even bead of new sealant.
- To Prevent Cracks (especially stone):
- Use professional help for any cutting.
- Never use a hammer to force anything.
- Do not drop heavy tools.
- Be gentle when prying the old sink out.
- For Stripped Parts: Use a good quality wrench or screwdriver that fits correctly. If a screw is stripped, you might need to use a screw extractor.
DIY or Pro? Deciding What is Right for You
A DIY kitchen sink swap can save money. But sometimes, a pro is the best choice.
H4. When to Do It Yourself
- Simple Swap: If you are replacing a drop-in sink with another drop-in sink of the same size, it is a good
DIY kitchen sink swapproject. - Basic Tools: You have basic hand tools and are comfortable using them.
- Time and Patience: You have enough time to do the job right and are patient enough to handle any small issues.
- Laminate or Solid Surface Counter: These are more forgiving for minor adjustments.
H4. When to Call a Professional
- Stone Countertops: If you have granite, quartz, or marble, and need a
sink cutout adjustmentorundermount sink removalthat involves cutting or heavy lifting, call a pro. They have the special tools and skills to avoid damaging your expensive counter.Granite sink installation without removing counteris a specialized skill. - Major Changes: If you are changing from a drop-in to an undermount, or if the new sink is a very different size.
- No Experience: If you are not comfortable with plumbing, cutting, or using power tools.
- Complex Plumbing: If your sink setup has a lot of extra plumbing, like a water filter or hot water dispenser, a pro can ensure everything is reconnected right.
- Fear of Damage: If you are worried about
preventing countertop damage sink replacementand want to be sure it is done without issues.
A professional might cost more upfront. But they can save you money in the long run by avoiding costly mistakes.
Frequently Asked Questions (FAQs)
Can I put an undermount sink into a drop-in sink hole?
Usually no, not without a major sink cutout adjustment. A drop-in sink hole is smaller than the sink itself, as the sink rim sits on the counter. An undermount sink needs a hole the size of the sink bowl. You would need to cut your countertop bigger, which is harder and riskier for many counter types.
How long does a kitchen sink replacement take?
For a DIY kitchen sink swap of a simple drop-in sink, it might take 2-4 hours. If you are replacing an undermount sink or need sink cutout adjustment, it can take a full day or more, especially for stone counters needing pro help.
Do I need special caulk for kitchen sinks?
Yes, use silicone caulk made for kitchens and bathrooms. It is waterproof and resists mold and mildew. This is a vital part of the kitchen sink sealing process.
What if my new sink is slightly smaller than the old hole?
If your new drop-in sink is slightly smaller, the old hole might show around the edges. This is usually not fixable without replacing the counter or adding a custom trim ring. This highlights the importance of existing sink hole fitting.
Is it hard to remove an undermount sink?
Yes, undermount sink removal can be hard. They are often glued or heavily braced to the bottom of the counter. It takes time, effort, and sometimes special tools to safely detach them without damaging the counter.
Replacing a kitchen sink without replacing the countertop is a common project. With careful planning, the right tools, and a good understanding of your sink and counter types, you can often do it yourself. However, for stone countertops or complex changes, calling a professional is always the safest bet.