
Can you drain a KitchenAid dishwasher manually? Yes, you can manually drain a KitchenAid dishwasher if it’s not draining properly, has standing water, or you need to perform maintenance.
A KitchenAid dishwasher that isn’t draining can be frustrating. This guide will walk you through the steps to drain your appliance, helping you resolve common water issues and perform essential maintenance. Whether it’s standing KitchenAid dishwasher water after a cycle, or you suspect a blockage, knowing how to drain it is a valuable skill for any homeowner. We’ll cover everything from the simple to the more involved, ensuring your appliance is back to its best.
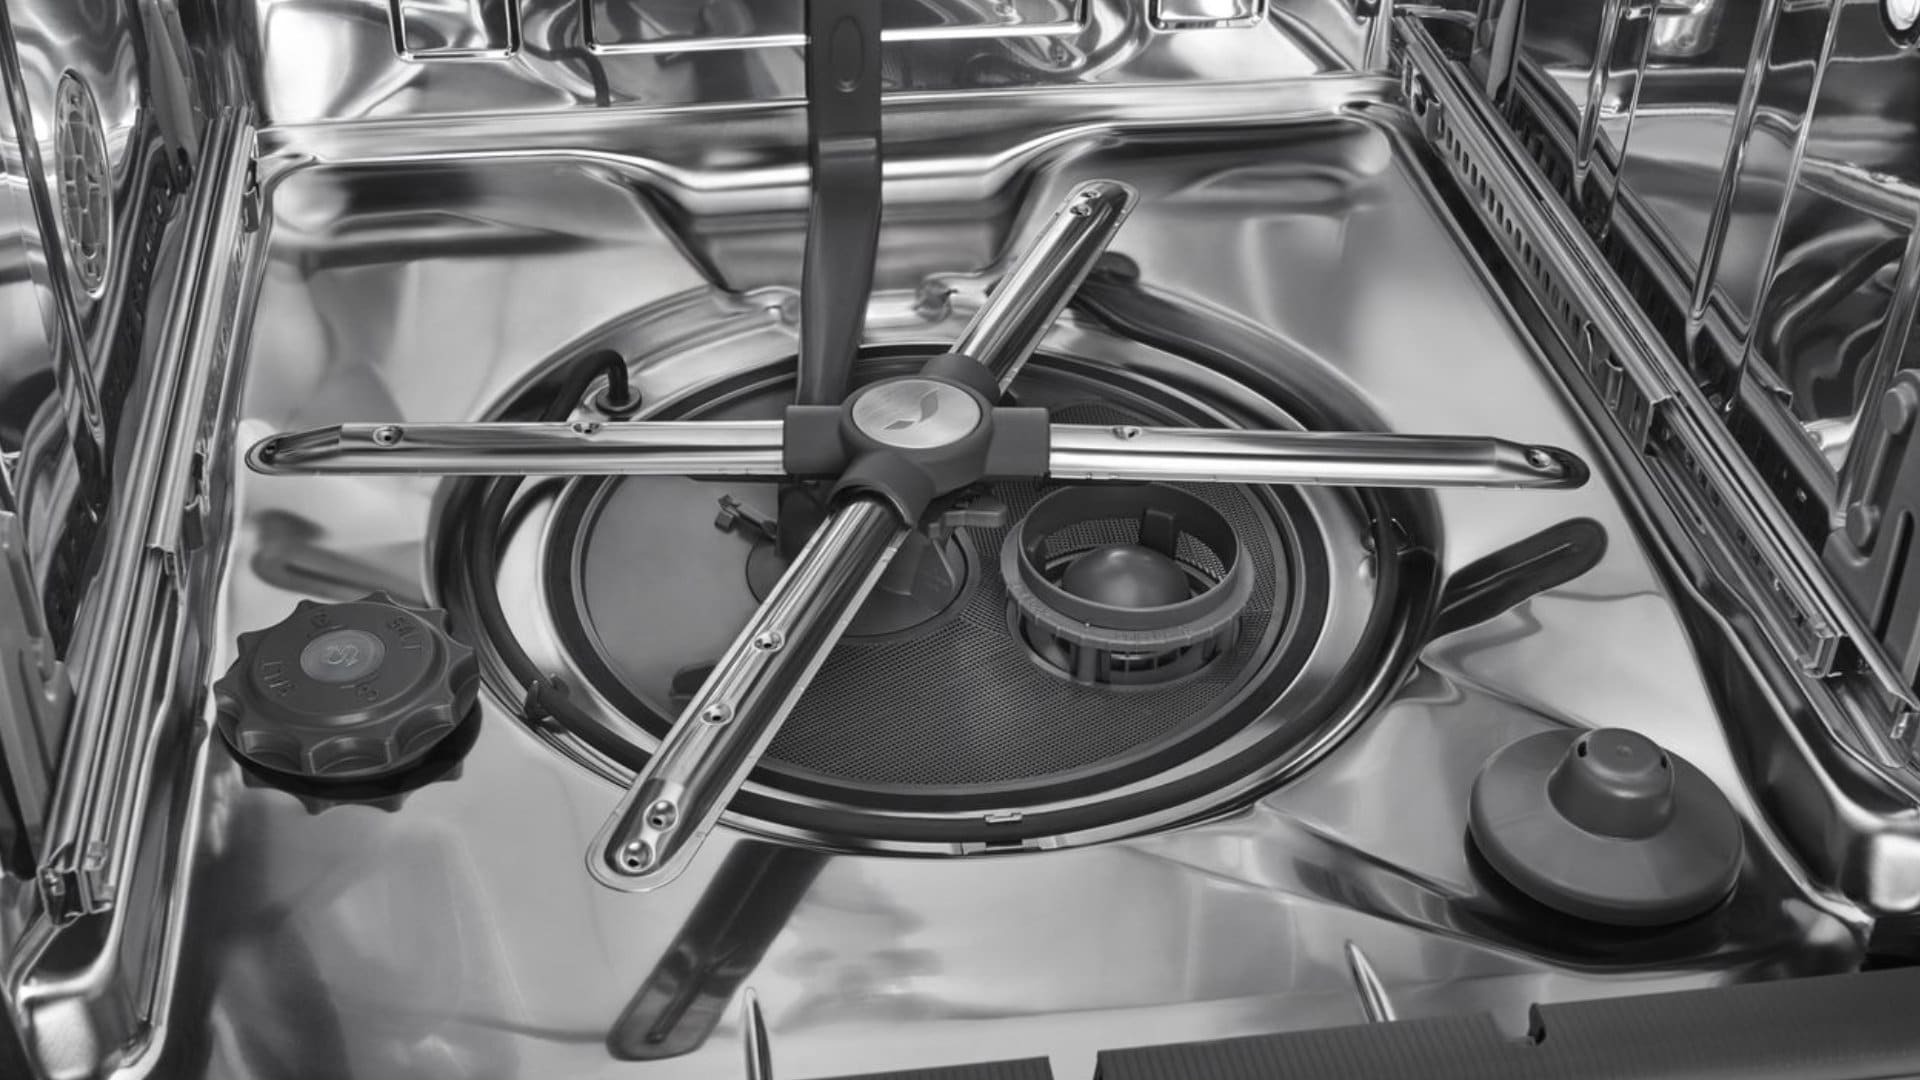
Image Source: flamingoappliance.com
Why Drain Your KitchenAid Dishwasher?
There are several reasons why you might need to drain your KitchenAid dishwasher:
- Resolving standing water: If your dishwasher finishes a cycle but leaves water at the bottom, draining it is the first step to troubleshooting.
- Before repairs or maintenance: If you’re planning to fix a leak, replace a part, or conduct thorough KitchenAid dishwasher maintenance, draining the water prevents spills and makes the job easier.
- Winterizing: If you live in a cold climate and need to store the dishwasher for the winter, draining all the water is crucial to prevent freezing and damage.
- Clearing debris: Sometimes, draining the water can help dislodge minor debris that might be causing drainage issues.
Preparing for the Drain Process
Before you begin, gather these items. Having them ready will make the process smoother:
- Towels: Plenty of old towels or rags to soak up any spilled water.
- Bucket or shallow pan: To catch water if you disconnect hoses.
- Screwdriver set: You might need a Phillips or flathead screwdriver to access certain panels.
- Pliers: For potentially loosening hose clamps.
- Gloves: To keep your hands clean.
- Flashlight: To help you see in dimly lit areas under the sink or behind the dishwasher.
Safety First: Always disconnect the power to your dishwasher at the circuit breaker before starting any work. This is a critical step to avoid electrical shock.
Step-by-Step Guide to Draining Your KitchenAid Dishwasher
This guide breaks down the draining process into manageable steps. We will address common scenarios and solutions.
Method 1: Using the Drain Cycle (If Possible)
If your dishwasher is not completely full of water or you want to try a gentle approach first, you can attempt to initiate a drain cycle.
h4: Initiating a Drain Cycle
- Check the Control Panel: Look for a “Drain” or “Cancel/Drain” button on your KitchenAid dishwasher’s control panel.
- Select the Drain Option: Press and hold the designated button (often for a few seconds) until the dishwasher enters a drain mode. You should hear the pump engage and water begin to flow out.
- Monitor the Process: Allow the cycle to complete. If the water drains successfully, you can then investigate why there was standing water in the first place.
If this method doesn’t work, or if there’s a significant amount of standing water, you’ll need to move to more direct methods.
Method 2: Manual Draining Through the Sink Drain Hose
This is a common and effective method for removing KitchenAid dishwasher water when the internal drain cycle isn’t functioning.
h4: Locating the Dishwasher Drain Hose
- Access Under the Sink: Most dishwasher drain hoses are routed to the sink drain or garbage disposal under your kitchen sink.
- Identify the Hose: Look for a corrugated plastic hose, usually gray or black, connecting the dishwasher to the plumbing under the sink. It might be connected to the garbage disposal inlet or directly to the sink drainpipe.
- Disconnect the Hose:
- Important: Make sure the power to the dishwasher is OFF at the breaker.
- Place towels and a bucket or shallow pan beneath the connection point to catch any water that will immediately spill out.
- You will likely find a hose clamp securing the drain hose to the sink pipe or garbage disposal. Use pliers or a screwdriver to loosen this clamp.
- Carefully pull the drain hose off the connection.
h4: Draining the Water
- Lower the Hose: Once disconnected, lower the end of the dishwasher drain hose into the bucket or pan you placed on the floor. The hose should be lower than the water level inside the dishwasher for gravity to assist in draining.
- Wait for Drainage: The water should now flow out of the hose into the container. You may need to hold the hose in place.
- Empty the Bucket: Periodically empty the bucket as it fills.
- Check for Blockages: While the hose is disconnected, inspect the end of the hose for any visible debris. You can also try to blow through it (towards the dishwasher) to check for blockages, though this might not clear tougher clogs.
h4: Reconnecting the Hose
- When Draining Stops: Once water stops flowing, or the flow significantly slows, you can reattach the KitchenAid dishwasher drain hose.
- Secure the Clamp: Slide the hose back onto the sink pipe or disposal inlet and tighten the hose clamp securely.
Method 3: Draining from the Dishwasher Sump
If the water issue is significant or you suspect a blockage within the dishwasher itself, you might need to access the KitchenAid dishwasher sump. The sump is the lowest part of the dishwasher tub, where water collects before being pumped out.
h4: Gaining Access to the Sump Area
- Disconnect Power and Water: Ensure power is off at the breaker, and turn off the water supply valve to the dishwasher (usually located under the sink).
- Remove the Lower Rack: Take out the lower dishwasher rack to get a clear view of the bottom of the tub.
- Locate the Filter/Sump Cover: Most KitchenAid dishwashers have a cylindrical filter assembly that sits over the sump area. This is often accessed by twisting the filter.
- Remove the Filter Assembly: Carefully twist and lift out the main filter. Some models may have additional pre-filters or covers.
h4: Draining the Sump Manually
- Siphon or Bail Out Water: With the filter removed, you can access the water in the sump.
- Siphoning: If you have a small siphon pump or even a turkey baster, you can use it to remove the majority of the water from the sump. Direct the siphoned water into a bucket.
- Bailing: You can carefully use a small cup or ladle to scoop out the water. Be prepared for this to be slow and potentially messy.
- Soak Up Remaining Water: Use towels to soak up any remaining water in the sump.
Method 4: Addressing a Blocked KitchenAid Dishwasher Drain Hose
A common reason for a KitchenAid dishwasher not draining is a blockage in the drain hose.
h4: How to Unclog KitchenAid Dishwasher Drain Hose
- Access the Hose: As described in Method 2, disconnect the drain hose from the sink plumbing.
- Inspect for Obstructions:
- Look into the hose from the sink end. You might see food particles, glass shards, or other debris.
- Try to reach in with your fingers or use a bent coat hanger (gently!) to dislodge any visible clogs.
- Flush the Hose:
- If possible, take the hose outside or to a utility sink.
- Run water through the hose to clear out any loose debris.
- Alternatively, you can try using a plumber’s snake or a flexible wire to push through the hose. Be gentle to avoid damaging the hose.
- Check the Pump Connection:
- Sometimes, the blockage is right at the point where the hose connects to the KitchenAid dishwasher pump.
- You may need to access the back or front of the dishwasher to disconnect the hose from the pump itself for a thorough cleaning. This often involves removing a kick plate or accessing the rear panel. Consult your model’s manual for specific instructions.
Method 5: Clearing the KitchenAid Dishwasher Filter and Sump
A clogged KitchenAid dishwasher filter is a very frequent cause of drainage problems.
h4: Cleaning the KitchenAid Dishwasher Filter
- Locate and Remove: As detailed in Method 3, find and remove the filter assembly from the bottom of the dishwasher tub.
- Disassemble the Filter: Most filter systems have a main cylindrical filter and a smaller, finer mesh filter underneath. Separate these components.
- Rinse Thoroughly: Rinse all parts of the filter assembly under running water. Use a soft brush (like an old toothbrush) to scrub away any stubborn food particles or grease buildup.
- Inspect the Sump Opening: With the filter removed, look into the opening of the KitchenAid dishwasher sump. You might see debris lodged around the impeller of the pump. Gently remove any visible obstructions.
- Reassemble and Reinstall: Once clean, put the filter components back together and reinsert them into the dishwasher tub, ensuring they are securely in place.
Method 6: Checking the Garbage Disposal Connection
If your dishwasher drains into a garbage disposal, a clog in the disposal can prevent the dishwasher from draining.
h4: Troubleshooting Garbage Disposal Clogs
- Run the Disposal: Run cold water into the garbage disposal and then turn it on to grind any food waste. Listen for unusual noises or if it seems to be struggling.
- Clear the Disposal: If you suspect a blockage in the disposal itself, try running some ice cubes and citrus peels through it, followed by cold water. For tougher clogs, you might need to use a plumbing snake or consult the disposal’s manual.
- Check the Disposal Inlet: The inlet where the dishwasher drain hose connects to the disposal can also get blocked. You might need to disconnect the hose (power off!) and use a screwdriver or pliers to clear any debris from this opening.
Method 7: Inspecting the Air Gap (If Applicable)
Some plumbing codes require an air gap to be installed between the dishwasher drain and the sink drain. This prevents backflow of dirty water.
h4: Cleaning the Air Gap
- Locate the Air Gap: The air gap is usually a small chrome or plastic cap on your countertop or sink backsplash. It typically has a larger cap that unscrews.
- Remove the Cover: Twist or pull off the decorative cover.
- Remove the Inner Cap: Underneath, you’ll find another cap, often held in place by a nut or screws. Remove this to expose the air gap chamber.
- Clear Debris: Inside, you’ll find the hose from the dishwasher and the hose going to the drain. Check for any food particles or gunk that might be blocking the flow. Use a small brush or your fingers to clean it out.
- Reassemble: Replace the inner cap and the outer decorative cover.
Common KitchenAid Dishwasher Troubleshooting Scenarios
Here’s a look at common issues that prevent draining and how draining helps resolve them:
- KitchenAid Dishwasher Not Draining: This is the most frequent problem. It’s often due to a clogged filter, blocked drain hose, or a malfunctioning pump. Draining allows you to access and clean these components.
- Water Remaining After Cycle: A small amount of residual water at the bottom is sometimes normal, but a significant pool indicates a drainage problem. Draining is the first step to diagnose the cause.
- Odor from Dishwasher: Stagnant water can cause odors. Draining and cleaning the filter and sump can help eliminate these smells.
- Error Codes: Some KitchenAid dishwashers display error codes related to drainage. Draining the unit might be part of the solution or a preliminary step before attempting a KitchenAid dishwasher repair.
When to Call a Professional for KitchenAid Dishwasher Repair
While many drainage issues can be fixed with these steps, some situations may require professional help:
- KitchenAid Dishwasher Pump Failure: If you suspect the KitchenAid dishwasher pump itself has failed (e.g., it’s not making any noise when it should be draining), replacement might be necessary.
- Damaged Hoses: If the drain hose is cracked, kinked severely, or leaking, it needs replacement.
- Persistent Blockages: If you’ve tried all the above and the dishwasher still won’t drain, there might be a blockage further down the plumbing line or within the dishwasher’s internal plumbing that requires specialized tools.
- Electrical Issues: If you’re uncomfortable working with appliances or suspect electrical problems, it’s always safer to call a qualified technician.
- You’re Not Comfortable: If any part of the process makes you uneasy, or you can’t access the necessary components, don’t hesitate to call for professional KitchenAid dishwasher repair.
KitchenAid Dishwasher Maintenance Tips to Prevent Drainage Issues
Regular KitchenAid dishwasher maintenance can prevent many drainage problems.
- Scrape Plates: Always scrape off large food particles from dishes before loading them. While dishwashers can handle some residue, large chunks can clog filters and hoses.
- Clean the Filter Regularly: Aim to clean your KitchenAid dishwasher filter at least once a month. This is the single most effective preventative measure.
- Check the Drain Hose: Periodically inspect the drain hose for kinks or damage.
- Run Hot Water Before Starting: Running hot water from your kitchen faucet for a minute before starting the dishwasher can help clear any grease or debris from the plumbing that the dishwasher drains into.
- Use a Dishwasher Cleaner: Occasionally using a dishwasher cleaner can help break down grease and mineral buildup within the appliance.
Frequently Asked Questions (FAQ)
Q1: How often should I clean my KitchenAid dishwasher filter?
A: It’s recommended to clean the KitchenAid dishwasher filter at least once a month, or more frequently if you often wash dishes with a lot of food residue.
Q2: My KitchenAid dishwasher is making a grinding noise and not draining. What could it be?
A: A grinding noise often indicates that something is caught in or around the dishwasher pump impeller, or the pump itself is failing. You should first try draining the unit, then carefully inspect the sump and filter area for debris that might be obstructing the impeller. If you find nothing, the pump may need professional inspection or replacement.
Q3: Can I bypass the air gap on my KitchenAid dishwasher?
A: It’s generally not advisable to bypass the air gap. It’s a required component in many areas to prevent contaminated sink water from siphoning back into your dishwasher. If the air gap is causing issues, cleaning it is the best solution.
Q4: What is the KitchenAid dishwasher sump for?
A: The KitchenAid dishwasher sump is the lowest part of the dishwasher tub. It collects the water during the wash and rinse cycles and houses the drain pump and filter. Water is drawn from the sump and pumped out through the drain hose.
Q5: My KitchenAid dishwasher won’t drain, and I’ve cleaned the filter. What’s next?
A: If cleaning the filter didn’t solve the problem, the next steps would be to check the drain hose for kinks or blockages, ensure the garbage disposal inlet (if applicable) is clear, and verify the air gap (if present) is clean. If these are all clear, the issue might be with the drain pump or internal plumbing, which may require professional KitchenAid dishwasher repair.