
Can you replace a kitchen faucet washer yourself? Yes, absolutely! Replacing a kitchen faucet washer is a common kitchen faucet repair that most homeowners can tackle themselves, saving money and time. This guide will walk you through the process step-by-step, helping you stop that annoying leaky faucet washer and restore your faucet to perfect working order.
A dripping faucet isn’t just a nuisance; it wastes water and can significantly increase your water bill. Often, the culprit behind a dripping faucet is a worn-out washer. Luckily, replacing these small rubber or neoprene discs is a straightforward DIY project. While this guide focuses on washers, many common faucet problems stem from similar internal components. If your faucet issues are more complex, you might be looking at a faucet cartridge replacement, but we’ll cover that briefly later. For now, let’s focus on the simple, yet effective, washer.
This detailed guide will cover everything you need to know about sink faucet repair, from identifying the problem to gathering your tools and performing the replacement. We’ll also touch on faucet seal replacement as it’s often done in conjunction with washer replacement. You’ll be equipped to handle this basic DIY faucet maintenance and potentially other minor repairs, making you more self-sufficient in identifying faucet leaks.
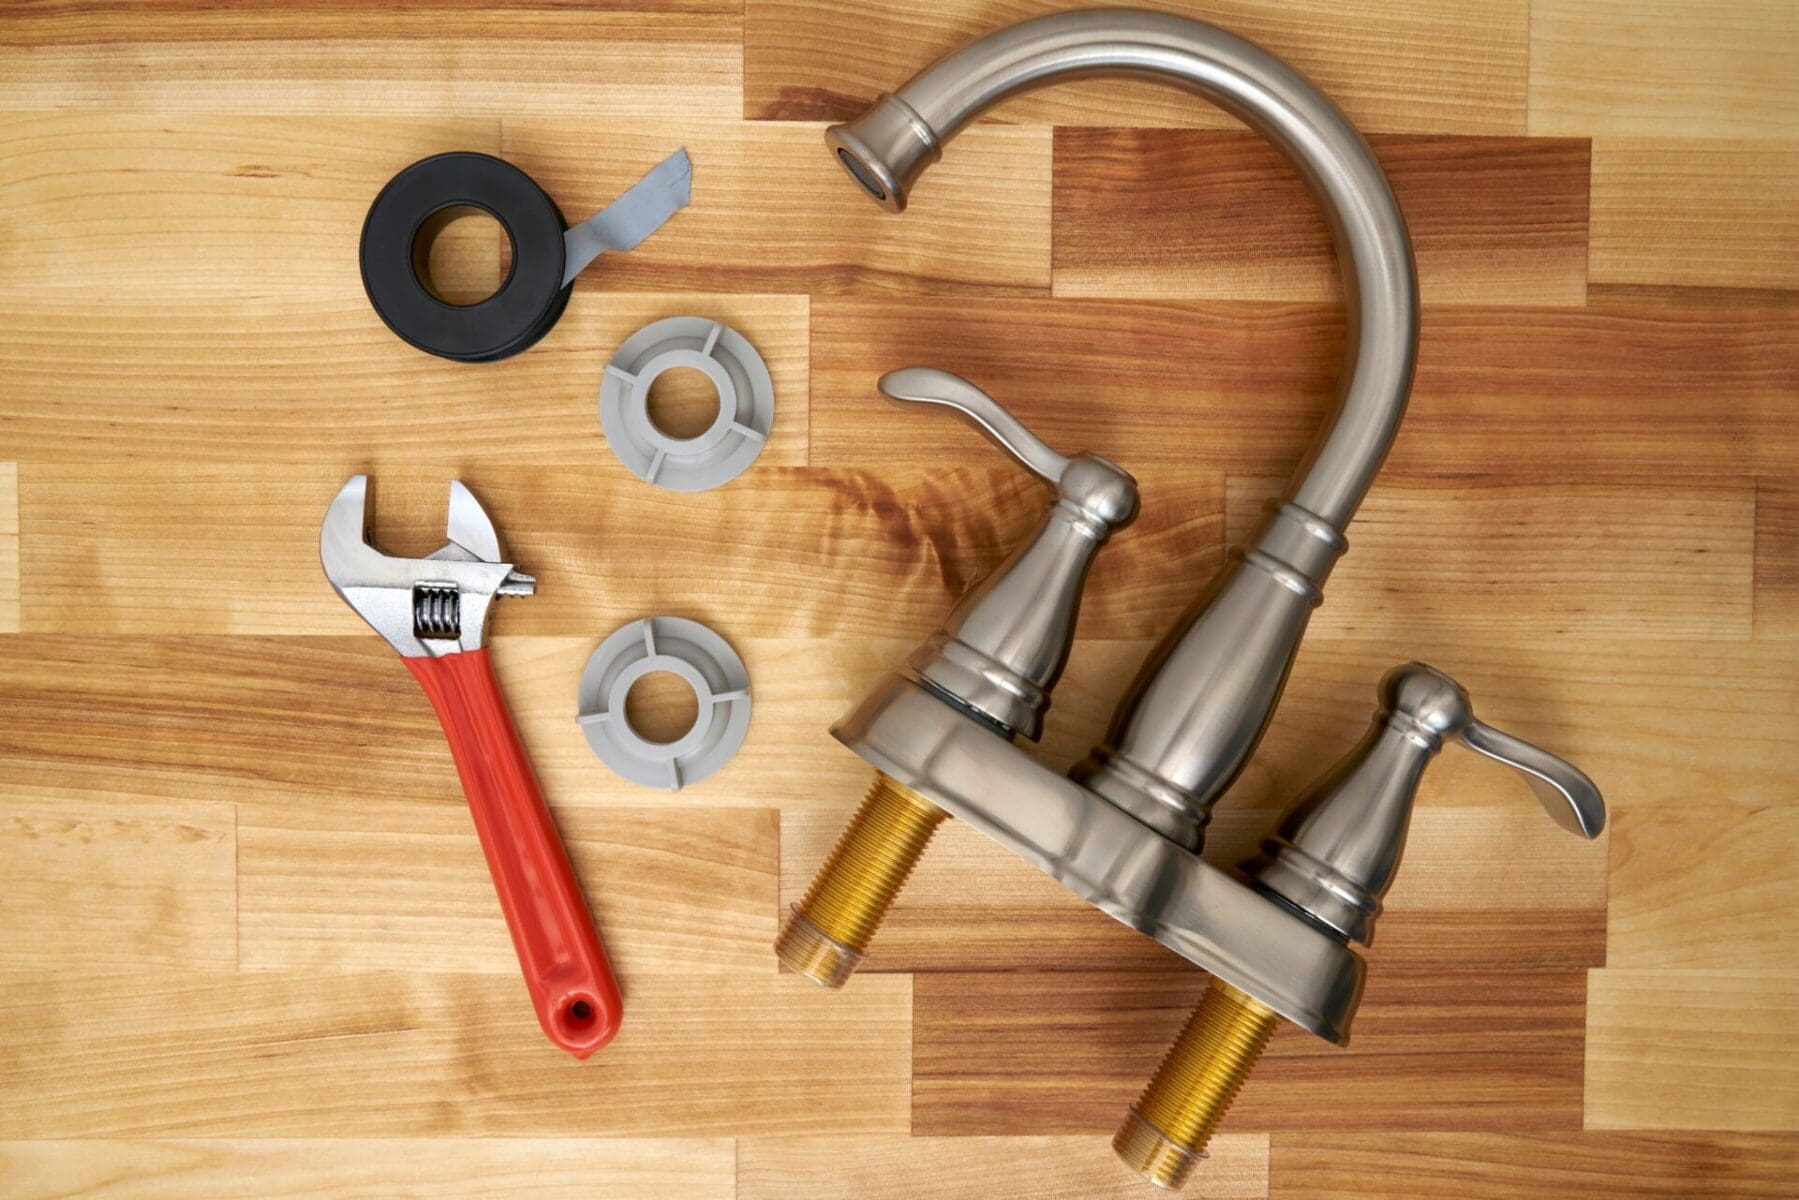
Image Source: nicholson-hvac.com
Why Faucets Leak: The Humble Washer
The primary reason a faucet leaks is usually due to a worn-out or damaged washer. These small, inexpensive parts are crucial for controlling water flow. When you turn the faucet handle, a stem moves up and down, compressing the washer against a valve seat. This creates a watertight seal. Over time, the constant pressure and friction cause the washer to degrade, harden, or even crack. When this happens, water can seep past the seal, leading to that persistent drip.
Other common faucet problems can include issues with the O-ring, the valve seat itself, or even a faulty faucet cartridge replacement if you have a cartridge-style faucet. However, for compression faucets, the washer is the most frequent offender.
Tools and Materials You’ll Need
Before you start your kitchen faucet repair, make sure you have these items ready:
- Replacement Washers: It’s best to have an assortment of common washer sizes. You can buy a variety pack of replacement faucet parts at any hardware store. Taking your old washer with you to match it is the surest way to get the right size.
- Adjustable Wrench: This is your primary tool for loosening and tightening nuts.
- Phillips Head Screwdriver: For removing handle screws.
- Flathead Screwdriver: Can be useful for prying off decorative caps or gently separating parts.
- Pliers (Needle-nose and standard): For gripping small parts and removing stubborn components.
- Plumber’s Grease or Silicone Grease: To lubricate new washers and O-rings, making installation easier and preventing future sticking.
- Rag or Towel: To wipe up water and protect surfaces.
- Small Bucket or Bowl: To catch any residual water when you disconnect parts.
- Penetrating Oil (Optional): If parts are corroded or stuck.
- Soft Cloth or Old Toothbrush: For cleaning mineral deposits.
Step-by-Step Guide to Replacing a Kitchen Faucet Washer
This guide assumes you have a compression-style faucet, which is the most common type that uses washers. If you have a ball-type, cartridge, or ceramic-disc faucet, the internal workings are different, and you may need to consider a faucet cartridge replacement or a different sink faucet repair approach.
Step 1: Turn Off the Water Supply
This is the most critical step. You don’t want to be dealing with a flood!
- Look under your sink. You should see two water supply lines connecting to the faucet.
- Each line will have a shut-off valve. These are usually oval-shaped or round handles.
- Turn the handles clockwise until they are snug.
- Turn on the faucet to confirm the water is off. No water should come out. If it does, the valves may need tightening or you may need to shut off the main water supply to your house.
Step 2: Remove the Faucet Handle
Most faucet handles have a decorative cap that hides a screw.
- Locate the Cap: This is usually a small, round plastic or metal cap on the top or front of the handle. It might say “Hot” or “Cold” on it.
- Pry Off the Cap: Gently insert a flathead screwdriver or a thin knife under the edge of the cap and pry it off. Be careful not to scratch the faucet finish.
- Unscrew the Handle: You’ll find a screw underneath. Use your Phillips head screwdriver to remove it. Keep the screw in a safe place – it’s small and easy to lose!
- Remove the Handle: Once the screw is out, the handle should lift straight off. If it’s stuck, try wiggling it gently. Sometimes, a bit of penetrating oil can help if it’s corroded.
Step 3: Access the Faucet Stem
With the handle removed, you can see the faucet stem or bonnet nut. This is the part that you’ll need to unscrew to get to the washer.
- Unscrew the Bonnet Nut: Use your adjustable wrench to loosen and remove the bonnet nut (sometimes called a packing nut). Turn it counter-clockwise. Be prepared for a small amount of water to drip out.
- Remove the Stem: Once the bonnet nut is off, you should be able to pull or unscrew the faucet stem. Some stems simply pull out, while others have threads that need to be turned counter-clockwise to be removed.
Step 4: Replace the Washer and O-ring
Now you’re at the heart of the leaky faucet washer issue.
- Locate the Washer: At the bottom of the faucet stem, you’ll see a small screw holding a rubber washer in place.
- Remove the Old Washer: Use your screwdriver to remove the screw. The old washer might be brittle or stuck. Carefully pry it off. If it crumbles, that’s a good sign it was the problem.
- Inspect the Valve Seat: While the stem is out, look down into the faucet body where the stem was. You’ll see the valve seat. This is where the washer presses to create the seal. If the valve seat looks rough, pitted, or corroded, it might also need replacing or refacing. Some valve seats can be unscrewed with a special tool, while others are part of the faucet body and might require a valve seat grinder or professional help. For now, focus on the washer.
- Replace the O-ring: Many faucet stems also have an O-ring around their base or near the top. This O-ring helps prevent leaks around the stem itself when the faucet is turned on. If it looks worn or cracked, it’s a good idea to replace it now. You might need needle-nose pliers to gently remove the old one and carefully slip a new one into place. Make sure the new O-ring is the correct size.
- Install the New Washer: Place the new washer onto the bottom of the stem. Secure it with the screw you removed earlier. Ensure the screw is snug but don’t overtighten, as you could damage the new washer.
- Lubricate: Apply a thin coat of plumber’s grease to the new washer and the O-ring. This helps create a better seal and makes reassembly easier.
Step 5: Reassemble the Faucet
Now, reverse the steps to put your faucet back together.
- Reinsert the Stem: Carefully slide or screw the stem back into the faucet body.
- Tighten the Bonnet Nut: Screw the bonnet nut back on. Tighten it with your adjustable wrench until snug. Don’t overtighten, as this can make the handle difficult to turn or damage the stem.
- Reattach the Handle: Place the handle back onto the stem.
- Secure the Handle Screw: Reinsert and tighten the handle screw.
- Replace the Decorative Cap: Snap the decorative cap back into place.
Step 6: Turn the Water Back On and Test
The moment of truth!
- Slowly turn the shut-off valves back on by turning them counter-clockwise.
- Check for any immediate leaks around the handle or base.
- Turn on the faucet and let the water run for a few moments. Check that the flow is normal.
- Turn the faucet off completely. Listen and watch to ensure there are no drips.
If the dripping has stopped, congratulations! You’ve successfully completed your kitchen faucet repair.
What If the Dripping Continues?
If your faucet is still dripping after replacing the washer, it’s time to investigate further. Here are some possibilities:
- Damaged Valve Seat: As mentioned earlier, the valve seat might be the problem. If it’s corroded or damaged, even a new washer won’t create a perfect seal. You can try to clean the valve seat with a bit of vinegar on a cloth or use a valve seat dressing tool. If it’s significantly damaged, you might need to replace the entire faucet, or in some cases, the valve seat itself can be unscrewed and replaced. This is a common cause of a persistent leaky faucet washer.
- Wrong Size Washer: Double-check that you used the correct size washer. If it’s too small, it won’t seal properly. If it’s too large, it might prevent the handle from closing fully.
- Faulty O-ring: If the O-ring around the stem was damaged during installation or was also worn out, it can cause leaks around the handle.
- Cartridge Faucet: If your faucet doesn’t have a distinct stem and washer system, you likely have a cartridge. This type of faucet requires a faucet cartridge replacement. These are usually a single unit that controls hot and cold water mixing. Identifying the brand and model of your faucet is crucial for finding the correct replacement cartridge.
- Other Internal Components: Some faucets have springs and seals within the valve assembly that can also fail.
Identifying Faucet Leaks: A Quick Checklist
When you notice a drip or a leak, it’s helpful to pinpoint the source.
- Drip from the Spout: This is the most common sign of a worn washer or a damaged valve seat.
- Leak Around the Handle: This often indicates a problem with the O-ring or packing nut.
- Leak at the Base of the Spout: This usually means the O-rings where the spout connects to the faucet body are worn out. This is a different faucet seal replacement scenario than the washer.
- Leak Under the Sink: Check the connections of the supply lines and the shut-off valves.
Faucets That Don’t Use Washers
It’s worth noting that not all faucets use washers. Here’s a quick look at others:
- Cartridge Faucets: These use a removable cartridge, often made of plastic or brass, that contains all the valve components. When a cartridge faucet leaks, the typical solution is a faucet cartridge replacement. This is another common sink faucet repair.
- Ball Faucets: These have a single handle that moves over a metal or plastic ball. They use rubber seats and springs to control water flow. Leaks here usually involve replacing these small seats and springs.
- Ceramic Disc Faucets: These use two ceramic discs that slide against each other. They are very durable but can eventually wear out or crack, requiring replacement of the entire disc assembly.
If you’re unsure what type of faucet you have, check the manufacturer’s website or look for brand markings on the faucet itself. Having the correct replacement faucet parts is key to a successful repair.
Maintenance Tips for Your Faucet
- Regular Cleaning: Wipe down your faucet regularly with a soft cloth to prevent mineral buildup.
- Gentle Operation: Avoid forcing the handle. If it feels stiff, investigate the cause rather than trying to muscle it open.
- Address Leaks Promptly: Don’t ignore small drips. They waste water and can lead to more significant problems.
Frequently Asked Questions (FAQ)
Q1: How often do faucet washers need to be replaced?
A1: Faucet washers can last for many years, but their lifespan depends on water quality, how often the faucet is used, and the hardness of your water. Some may last 5-10 years, while others might need replacement sooner.
Q2: Can I replace the valve seat if it’s damaged?
A2: Yes, in many cases, valve seats can be replaced. They often screw into the faucet body. You’ll need to identify the faucet brand and model to get the correct replacement valve seat. A valve seat wrench is usually required for removal.
Q3: My faucet is a single-handle type. Does this guide still apply?
A3: This guide is primarily for two-handle compression faucets. Single-handle faucets typically use cartridges. If you have a single-handle faucet, you’ll likely need to perform a faucet cartridge replacement instead of replacing a washer. The process involves removing the handle and then removing and replacing the cartridge unit.
Q4: What kind of grease should I use for faucet parts?
A4: Use plumber’s grease or silicone-based grease. This type of lubricant is safe for rubber and plastic parts and is designed for use with potable water systems. It helps create a good seal and prevents parts from sticking.
Q5: I can’t find the exact size washer. What should I do?
A5: It’s best to take your old washer to the hardware store to find a match. If you can’t find an exact match, try to find one that is the same diameter and thickness. A slightly thicker washer might work if it fits the screw hole, but a washer that’s too thick can prevent the faucet from closing properly. A slightly thinner washer might not seal effectively. Having a variety pack of replacement faucet parts can be very helpful.
Q6: My faucet drips even after replacing the washer. What else could it be?
A6: If the dripping persists after replacing the washer, the valve seat is the most likely culprit. It might be corroded, pitted, or damaged, preventing a proper seal. You can try cleaning or refacing it, or it may need to be replaced. Another possibility is that you didn’t get the correct size washer, or the O-ring on the stem is also worn out.
By following these steps and using the right replacement faucet parts, you can effectively address a leaky faucet washer and perform a successful kitchen faucet repair. This DIY faucet maintenance not only saves you money but also gives you the satisfaction of fixing things yourself. Remember to always turn off the water supply first and work carefully to avoid damaging your faucet.