
Yes, you absolutely can paint kitchen cabinets with chalk paint! This popular paint offers a beautiful, matte finish and adheres well to various surfaces with minimal prep, making it a fantastic choice for a DIY kitchen cabinet makeover. This comprehensive guide will walk you through everything you need to know to achieve a stunning, updated look for your kitchen.
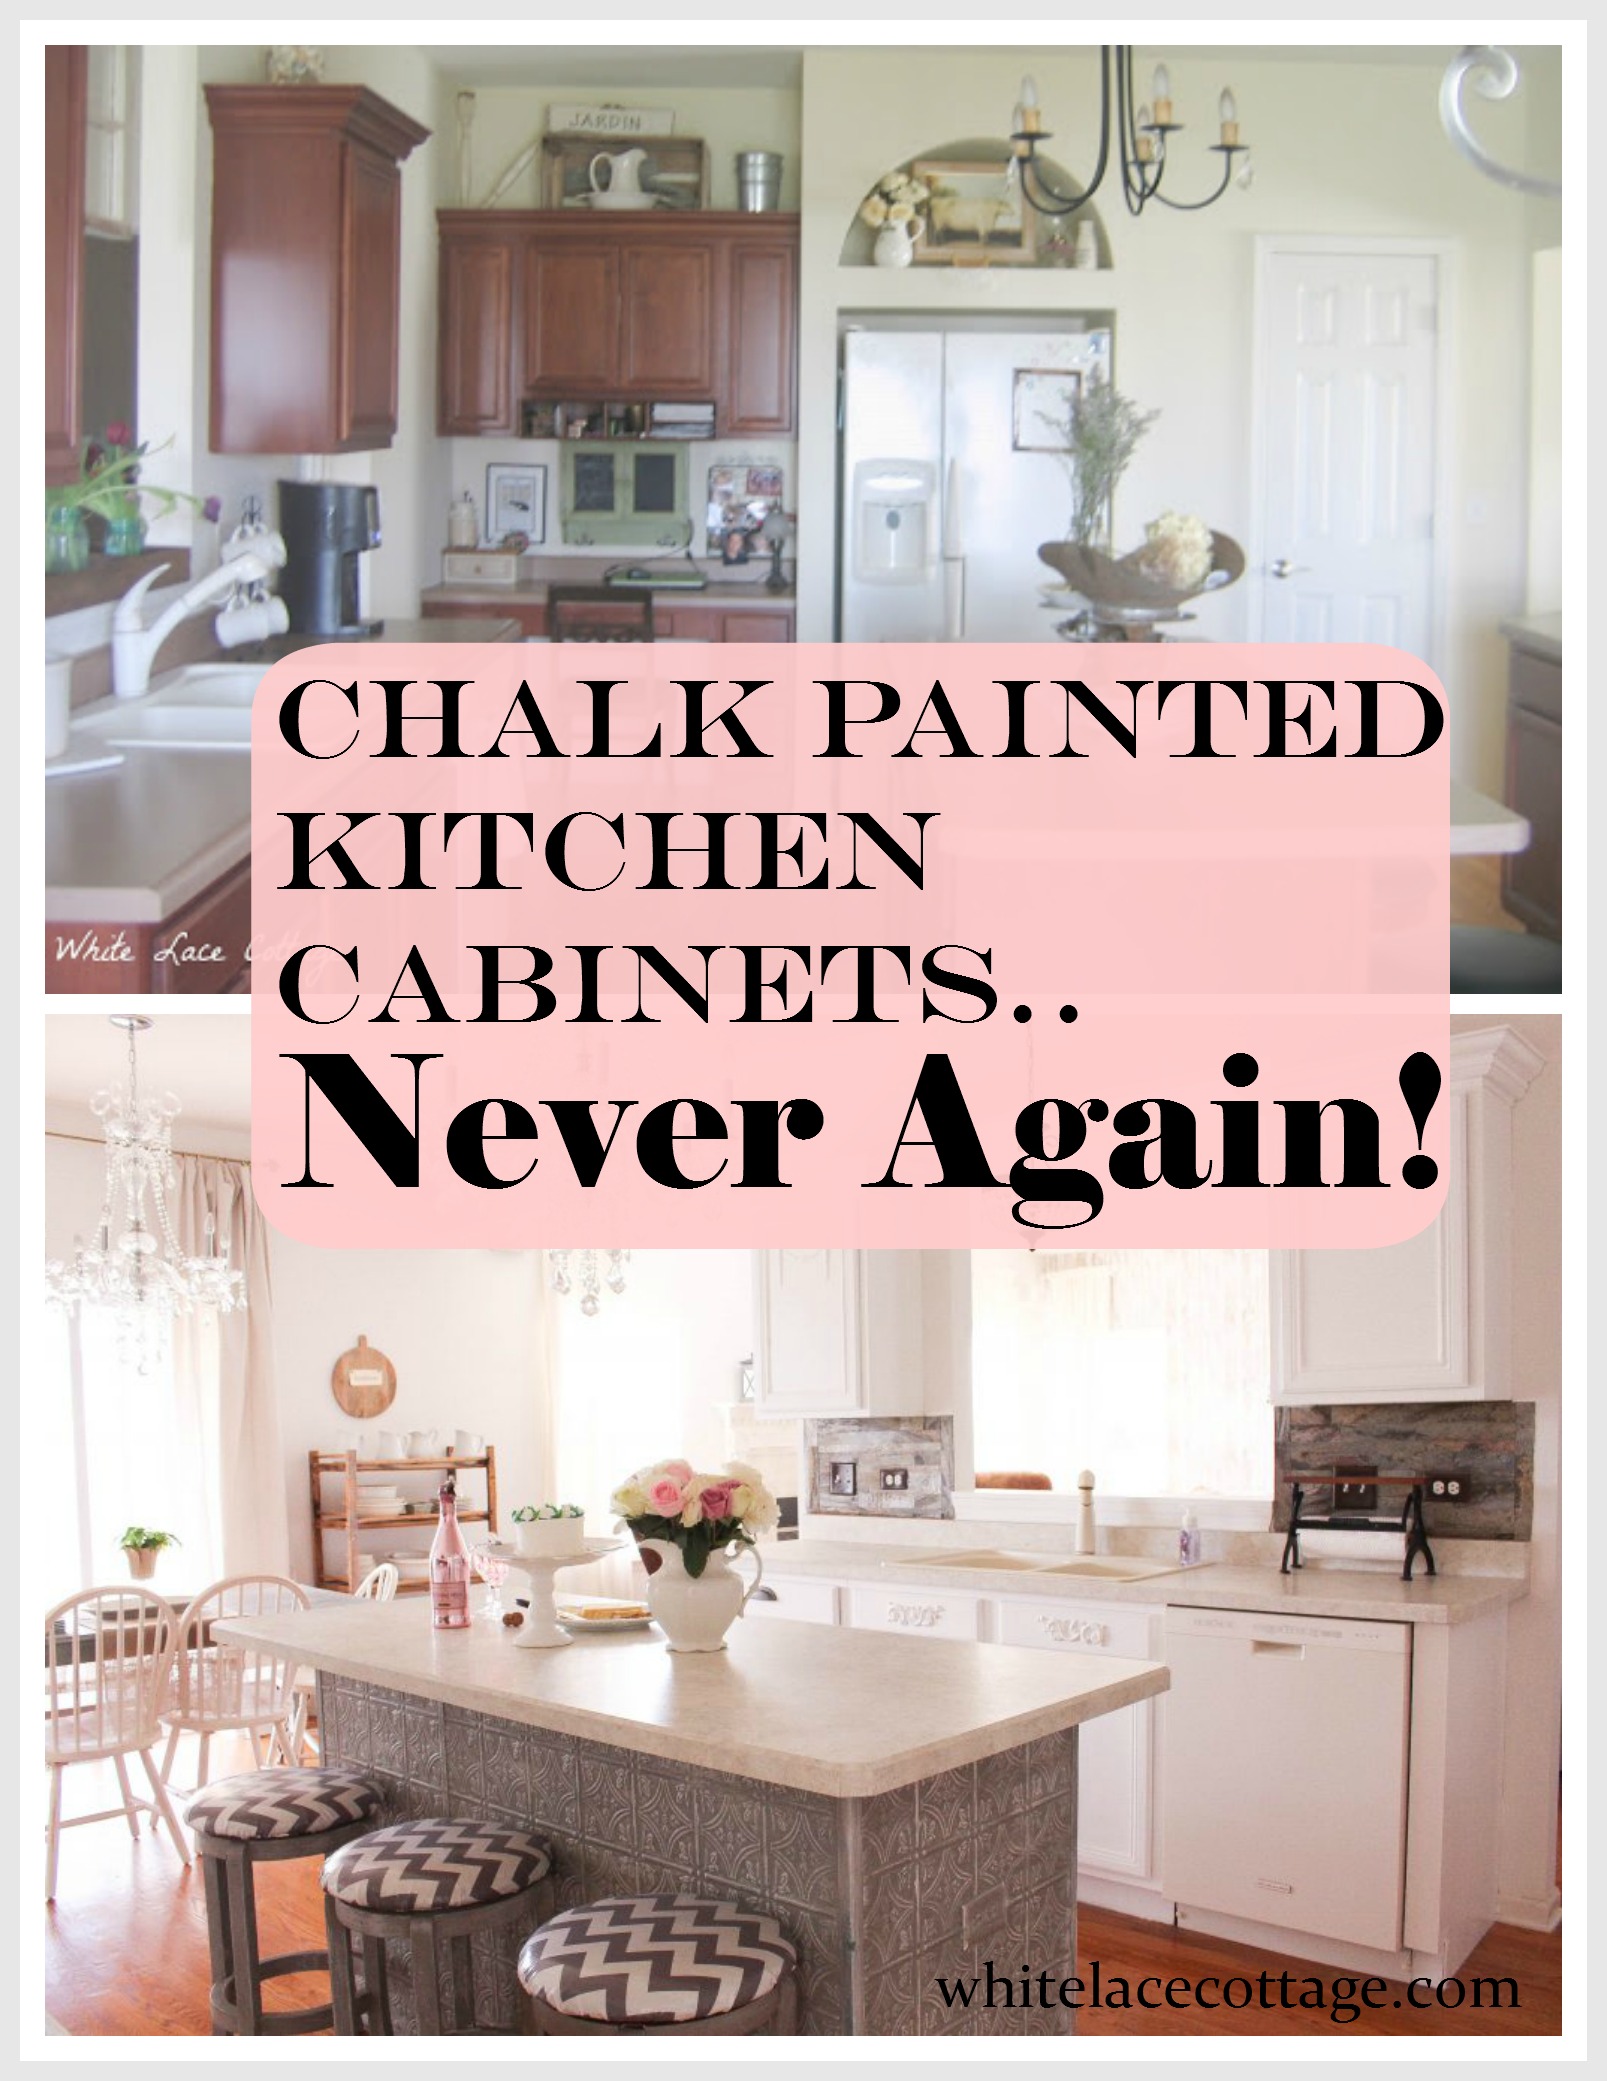
Image Source: whitelacecottage.com
Why Choose Chalk Paint for Your Kitchen Cabinets?
Chalk paint has surged in popularity for furniture refinishing and home décor projects, and for good reason. Its unique properties make it an excellent option for painting kitchen cabinets, offering several advantages over traditional paints.
The Magic of Chalk Paint
- Minimal Prep Work: Unlike other cabinet paints that require extensive sanding and priming, chalk paint adheres exceptionally well to most surfaces with just a light cleaning. This significantly reduces the time and effort involved in your kitchen cabinet painting tutorial.
- Durable Finish: When sealed with a good quality wax or polycrylic, chalk paint creates a very durable and washable surface, ideal for the high-traffic environment of a kitchen.
- Beautiful Matte Sheen: Chalk paint provides a lovely, soft matte finish that can be easily distressed for a vintage look or left as is for a modern, clean aesthetic.
- Versatile Application: You can achieve various looks with chalk paint, from a smooth, solid color to a distressed, layered effect, offering a wealth of chalk paint cabinet ideas.
- Non-Toxic Options Available: Many chalk paint brands are low in VOCs (Volatile Organic Compounds) or even zero VOC, making them a safer, non-toxic cabinet paint choice for your home.
Getting Started: Your DIY Cabinet Refinishing Plan
Embarking on a painting kitchen cabinets DIY project can seem daunting, but with a solid plan, it’s entirely achievable. Here’s what you’ll need to consider before you begin your chalk paint cabinet makeover.
Step 1: Planning Your Chalk Paint Cabinet Makeover
- Color Selection: Choose a color that complements your existing kitchen décor. Think about the overall mood you want to create – light and airy, dark and dramatic, or something in between?
- Paint Quantity: Estimate how much paint you’ll need. A quart of chalk paint typically covers around 130-150 square feet, but it’s always better to have a little extra.
- Sealer Choice: Decide whether you’ll use wax or a polycrylic topcoat. Wax offers a classic, soft sheen and is easy to apply but may require reapplication over time. Polycrylic provides a harder, more durable, and water-resistant finish, making it a popular choice for kitchen surfaces.
- Tools and Supplies: Gather all your materials before you start to ensure a smooth process.
Step 2: Gathering Your Supplies
Here’s a comprehensive list of what you’ll need for your painting kitchen cabinets DIY project:
Essential Materials:
- Chalk Paint (in your chosen color)
- Top Coat (Furniture Wax or Polycrylic)
- Degreaser or TSP (Trisodium Phosphate) cleaner
- Lint-free cloths or tack cloths
- Screwdriver or drill (to remove hardware)
- Painter’s tape
- Drop cloths or old sheets
- Sanding sponge or fine-grit sandpaper (optional, for smoothing between coats or distressing)
Application Tools:
- High-quality synthetic bristle paint brushes (various sizes)
- Foam rollers (for a smooth finish on flat surfaces)
- Paint tray
- Wax brush or lint-free cloth (for applying wax)
- Orbital sander (optional, for quick sanding if needed)
Step 3: Prepping Your Kitchen Cabinets for Paint
Proper preparation is key to a long-lasting and beautiful finish. While chalk paint requires less prep, a clean surface is crucial for adhesion.
Cleaning is Crucial:
- Remove Doors and Drawers: Take off all cabinet doors and drawer fronts. This will make it much easier to paint them evenly. Keep them organized so you know where each piece goes.
- Remove Hardware: Unscrew all hinges, knobs, and drawer pulls. Store them safely in a baggie.
- Clean Thoroughly: This is the most critical step. Kitchen cabinets accumulate grease and grime. Use a good degreaser or a solution of TSP and water. Scrub all surfaces thoroughly, paying attention to areas around the stove and sink. Rinse well with clean water and allow the cabinets to dry completely. A clean surface ensures your chalk paint adheres properly, making your DIY cabinet refinishing successful.
- Light Scuff (Optional but Recommended): For extra adhesion, you can lightly scuff the entire surface with a fine-grit sanding sponge (around 220 grit). This creates a slightly rougher surface for the paint to grip. Wipe away all dust with a tack cloth or a damp lint-free cloth.
- Tape Off Areas: Use painter’s tape to protect any areas you don’t want to paint, such as countertops or appliance fronts.
The Painting Process: Your Kitchen Cabinet Painting Tutorial
Now that your cabinets are prepped and ready, it’s time to bring your vision to life with chalk paint. Follow these steps for a flawless finish.
Applying the First Coat of Chalk Paint
- Stir the Paint: Gently stir your chalk paint. Avoid shaking, as this can introduce air bubbles.
- Start Painting: Begin by painting the inside of the cabinet frames and any areas that won’t be visible once doors are on. Then, move to the visible parts of the frames and the cabinet doors/drawer fronts.
- Use Your Brush: Apply the chalk paint in even, smooth strokes. You can use a brush for a classic painted look or a foam roller for a smoother, more modern finish on flat surfaces. Work in sections.
- Don’t Overwork the Paint: Chalk paint dries quickly, so try to apply it in one direction with consistent pressure.
- Allow to Dry: Let the first coat dry completely according to the manufacturer’s instructions. This usually takes 1-2 hours.
Applying Subsequent Coats
- Second Coat: Most projects will require a second coat for full coverage and to achieve a uniform color. Apply as you did the first coat.
- Light Sanding (Optional): Between coats, you can lightly sand any rough spots or drips with your fine-grit sandpaper or sanding sponge. Wipe away dust with a tack cloth. This step helps create a smoother finish.
- Third Coat (If Needed): Some lighter colors may require a third coat for complete opacity.
Achieving Different Chalk Paint Cabinet Ideas
Chalk paint is incredibly versatile. Here are a few popular techniques to consider for your chalk paint cabinet makeover:
- Smooth Finish: Apply thin, even coats with a high-quality synthetic brush or a foam roller. Lightly sand between coats for ultimate smoothness.
- Distressed Finish: After the paint is dry, use a sanding sponge or sandpaper to lightly sand along edges, corners, and raised panels. This reveals the original wood or a layer of a different colored chalk paint applied underneath, creating a charming, vintage look.
- Layered Colors: Apply one color of chalk paint, let it dry, and then apply a second, contrasting color. Once dry, distress the top layer to reveal the color underneath.
Sealing Your Chalk Painted Cabinets: The Protective Top Coat
Sealing is essential to protect your chalk-painted cabinets and make them durable for kitchen use. You have two main options:
Option 1: Furniture Wax
Furniture wax is traditionally used with chalk paint.
Applying Furniture Wax:
- Apply Thinly: Using a wax brush or a lint-free cloth, apply a thin, even layer of furniture wax over the completely dry chalk paint. Work in small sections.
- Buff: Allow the wax to sit for a few minutes (check product instructions), then buff it vigorously with a clean, lint-free cloth until a soft sheen appears.
- Multiple Coats: For maximum durability, apply 2-3 thin coats of wax, buffing after each coat.
- Curing Time: Wax needs time to cure and harden. Avoid heavy use of the cabinets for at least 2-4 weeks for the best results.
Pros of Wax:
* Enhances the matte finish.
* Easy to apply and repair if needed.
* Provides a classic, soft sheen.
Cons of Wax:
* Less durable than polycrylic, especially against heat and moisture.
* May require reapplication over time.
Option 2: Polycrylic (Water-Based Polyurethane)
Polycrylic is a water-based polyuerthane that offers superior durability and is an excellent choice for kitchen cabinets. It’s also a non-toxic cabinet paint option once cured.
Applying Polycrylic:
- Choose a Sheen: Polycrylic comes in various sheens (matte, satin, semi-gloss). Satin or semi-gloss are often preferred for kitchen cabinets as they are easier to clean.
- Apply Thin Coats: Use a high-quality synthetic brush or a foam roller to apply thin, even coats of polycrylic. Avoid applying it too thickly, as this can lead to drips and a less smooth finish.
- Light Sanding Between Coats: For the smoothest finish, lightly sand with very fine-grit sandpaper (220-320 grit) between coats. Wipe away dust with a tack cloth.
- Multiple Coats: Apply 2-3 coats of polycrylic for optimal protection.
- Drying Time: Allow each coat to dry thoroughly according to the manufacturer’s instructions.
Pros of Polycrylic:
* Very durable and resistant to water and grease.
* Easy to clean.
* Doesn’t yellow over time.
Cons of Polycrylic:
* Can slightly alter the chalk paint’s matte finish, giving it a slightly more “finished” look.
* Less forgiving if applied too thickly, can cause brush strokes.
Finishing Touches: Hardware and Reassembly
The final steps involve reattaching your hardware and putting your beautiful cabinets back together.
Reinstalling Hardware
- New Hardware: This is a great time to update your knobs and pulls! Measure carefully to ensure they fit the existing holes.
- Clean Existing Hardware: If you’re reusing your old hardware, clean it thoroughly with a degreaser or metal cleaner.
- Attach: Screw the hardware back onto the cabinet doors and drawer fronts.
Reassembling Your Cabinets
- Rehang Doors: Carefully rehang the cabinet doors onto their frames, reattaching the hinges.
- Insert Drawers: Slide the drawers back into place.
- Final Wipe Down: Give your newly painted cabinets a final wipe down with a soft cloth to remove any dust or fingerprints.
Tips for a Successful Chalk Paint Cabinet Makeover
- Ventilation is Key: Ensure your workspace is well-ventilated, especially when using cleaners or sealers. Open windows and doors, or use fans.
- Test a Small Area: If you’re unsure about the color or finish, test it on the inside of a cabinet door first.
- Patience is a Virtue: Don’t rush the drying or curing times. This is crucial for a long-lasting finish.
- Consider a Primer: While not always necessary with chalk paint, if your cabinets are very dark, laminate, or have a glossy finish, a bonding primer might be beneficial for extra adhesion. Always follow the chalk paint manufacturer’s recommendations.
- Chalk Paint for Cabinets – What to Expect: Chalk paint can sometimes absorb moisture before the topcoat is fully cured. Be gentle with your cabinets during the initial drying and curing periods.
Frequently Asked Questions About Painting Kitchen Cabinets with Chalk Paint
Here are some common questions people have when considering this project:
Q1: Is chalk paint durable enough for kitchen cabinets?
Yes, when properly sealed with furniture wax or, more ideally, a water-based polycrylic, chalk paint creates a durable and washable finish that is suitable for kitchen cabinets. The key is the topcoat’s protection against moisture and wear.
Q2: Do I really need to sand before using chalk paint on cabinets?
While chalk paint adheres well with minimal prep, a light scuff sanding (around 220 grit) after cleaning and before painting can significantly improve adhesion and ensure a smoother finish. It’s not as aggressive as sanding for other paint types.
Q3: How many coats of chalk paint will I need?
Most projects require 2-3 coats of chalk paint for full coverage and an even color. Lighter colors or dramatic color changes might need a third coat. Always allow each coat to dry completely before applying the next.
Q4: What’s the best topcoat for chalk-painted kitchen cabinets?
For kitchen cabinets, a water-based polycrylic (like a satin or semi-gloss finish) is generally recommended over furniture wax. Polycrylic offers better durability, water resistance, and is easier to clean, which are essential qualities for kitchen surfaces. Wax is beautiful but can be less resilient to spills and heat.
Q5: Can I distress my chalk-painted cabinets?
Absolutely! Distressing is a popular technique with chalk paint. Once the paint is dry, you can use fine-grit sandpaper or a sanding sponge to gently rub away paint along edges, corners, or raised details to reveal the layer underneath or the original cabinet material for a charming, antique look.
Q6: How long does it take to paint kitchen cabinets with chalk paint?
The painting process itself is relatively quick, with drying times between coats. However, including prep work (cleaning, removing hardware), painting, sealing, and reassembly, a typical kitchen cabinet painting project can take anywhere from a weekend to a week, depending on the size of your kitchen and your painting pace. The curing time for the topcoat is also an important factor for durability.
Q7: Is chalk paint a good non-toxic cabinet paint option?
Many chalk paint brands are formulated with low or zero VOCs, making them a much more environmentally friendly and non-toxic cabinet paint choice compared to many traditional oil-based paints. Always check the product label for VOC content.
Q8: What if I want a smoother finish instead of a chalky one?
While chalk paint inherently has a matte, chalky finish, you can achieve a smoother look by applying very thin coats, using a foam roller on flat surfaces, and lightly sanding between each coat with very fine-grit sandpaper. The final topcoat, especially a polycrylic in a satin or semi-gloss finish, will also contribute to a smoother appearance.
Q9: How do I clean chalk-painted cabinets after sealing?
Once your chalk paint and topcoat have fully cured, cleaning is straightforward. Use a soft, damp cloth with mild dish soap if needed. Avoid abrasive cleaners or scrub brushes, which can damage the finish. For wax-sealed cabinets, be extra gentle.
Q10: Can I paint over existing laminate or veneer cabinets with chalk paint?
Yes, chalk paint adheres well to laminate and veneer. Ensure the surface is thoroughly cleaned and degreased. A light scuff sanding is highly recommended to create a better grip, and some professionals even recommend a specialized bonding primer before applying chalk paint for ultimate adhesion on these slick surfaces.
By following these steps and tips, you can successfully transform your kitchen with a beautiful and easy chalk paint cabinet makeover. This DIY cabinet refinishing project is a rewarding way to update your kitchen cabinets and achieve an entirely new look!