
Can you finish unfinished cabinets yourself? Yes, you can. Many people do this as a DIY project. What is the best way to finish new kitchen cabinets? The best way depends on what look you want. You can paint them or stain them. Both choices need careful steps. Is finishing unfinished cabinets hard? It needs patience and care, but it is a job you can do. It saves money compared to buying finished cabinets. This guide will show you how to do it step by step.
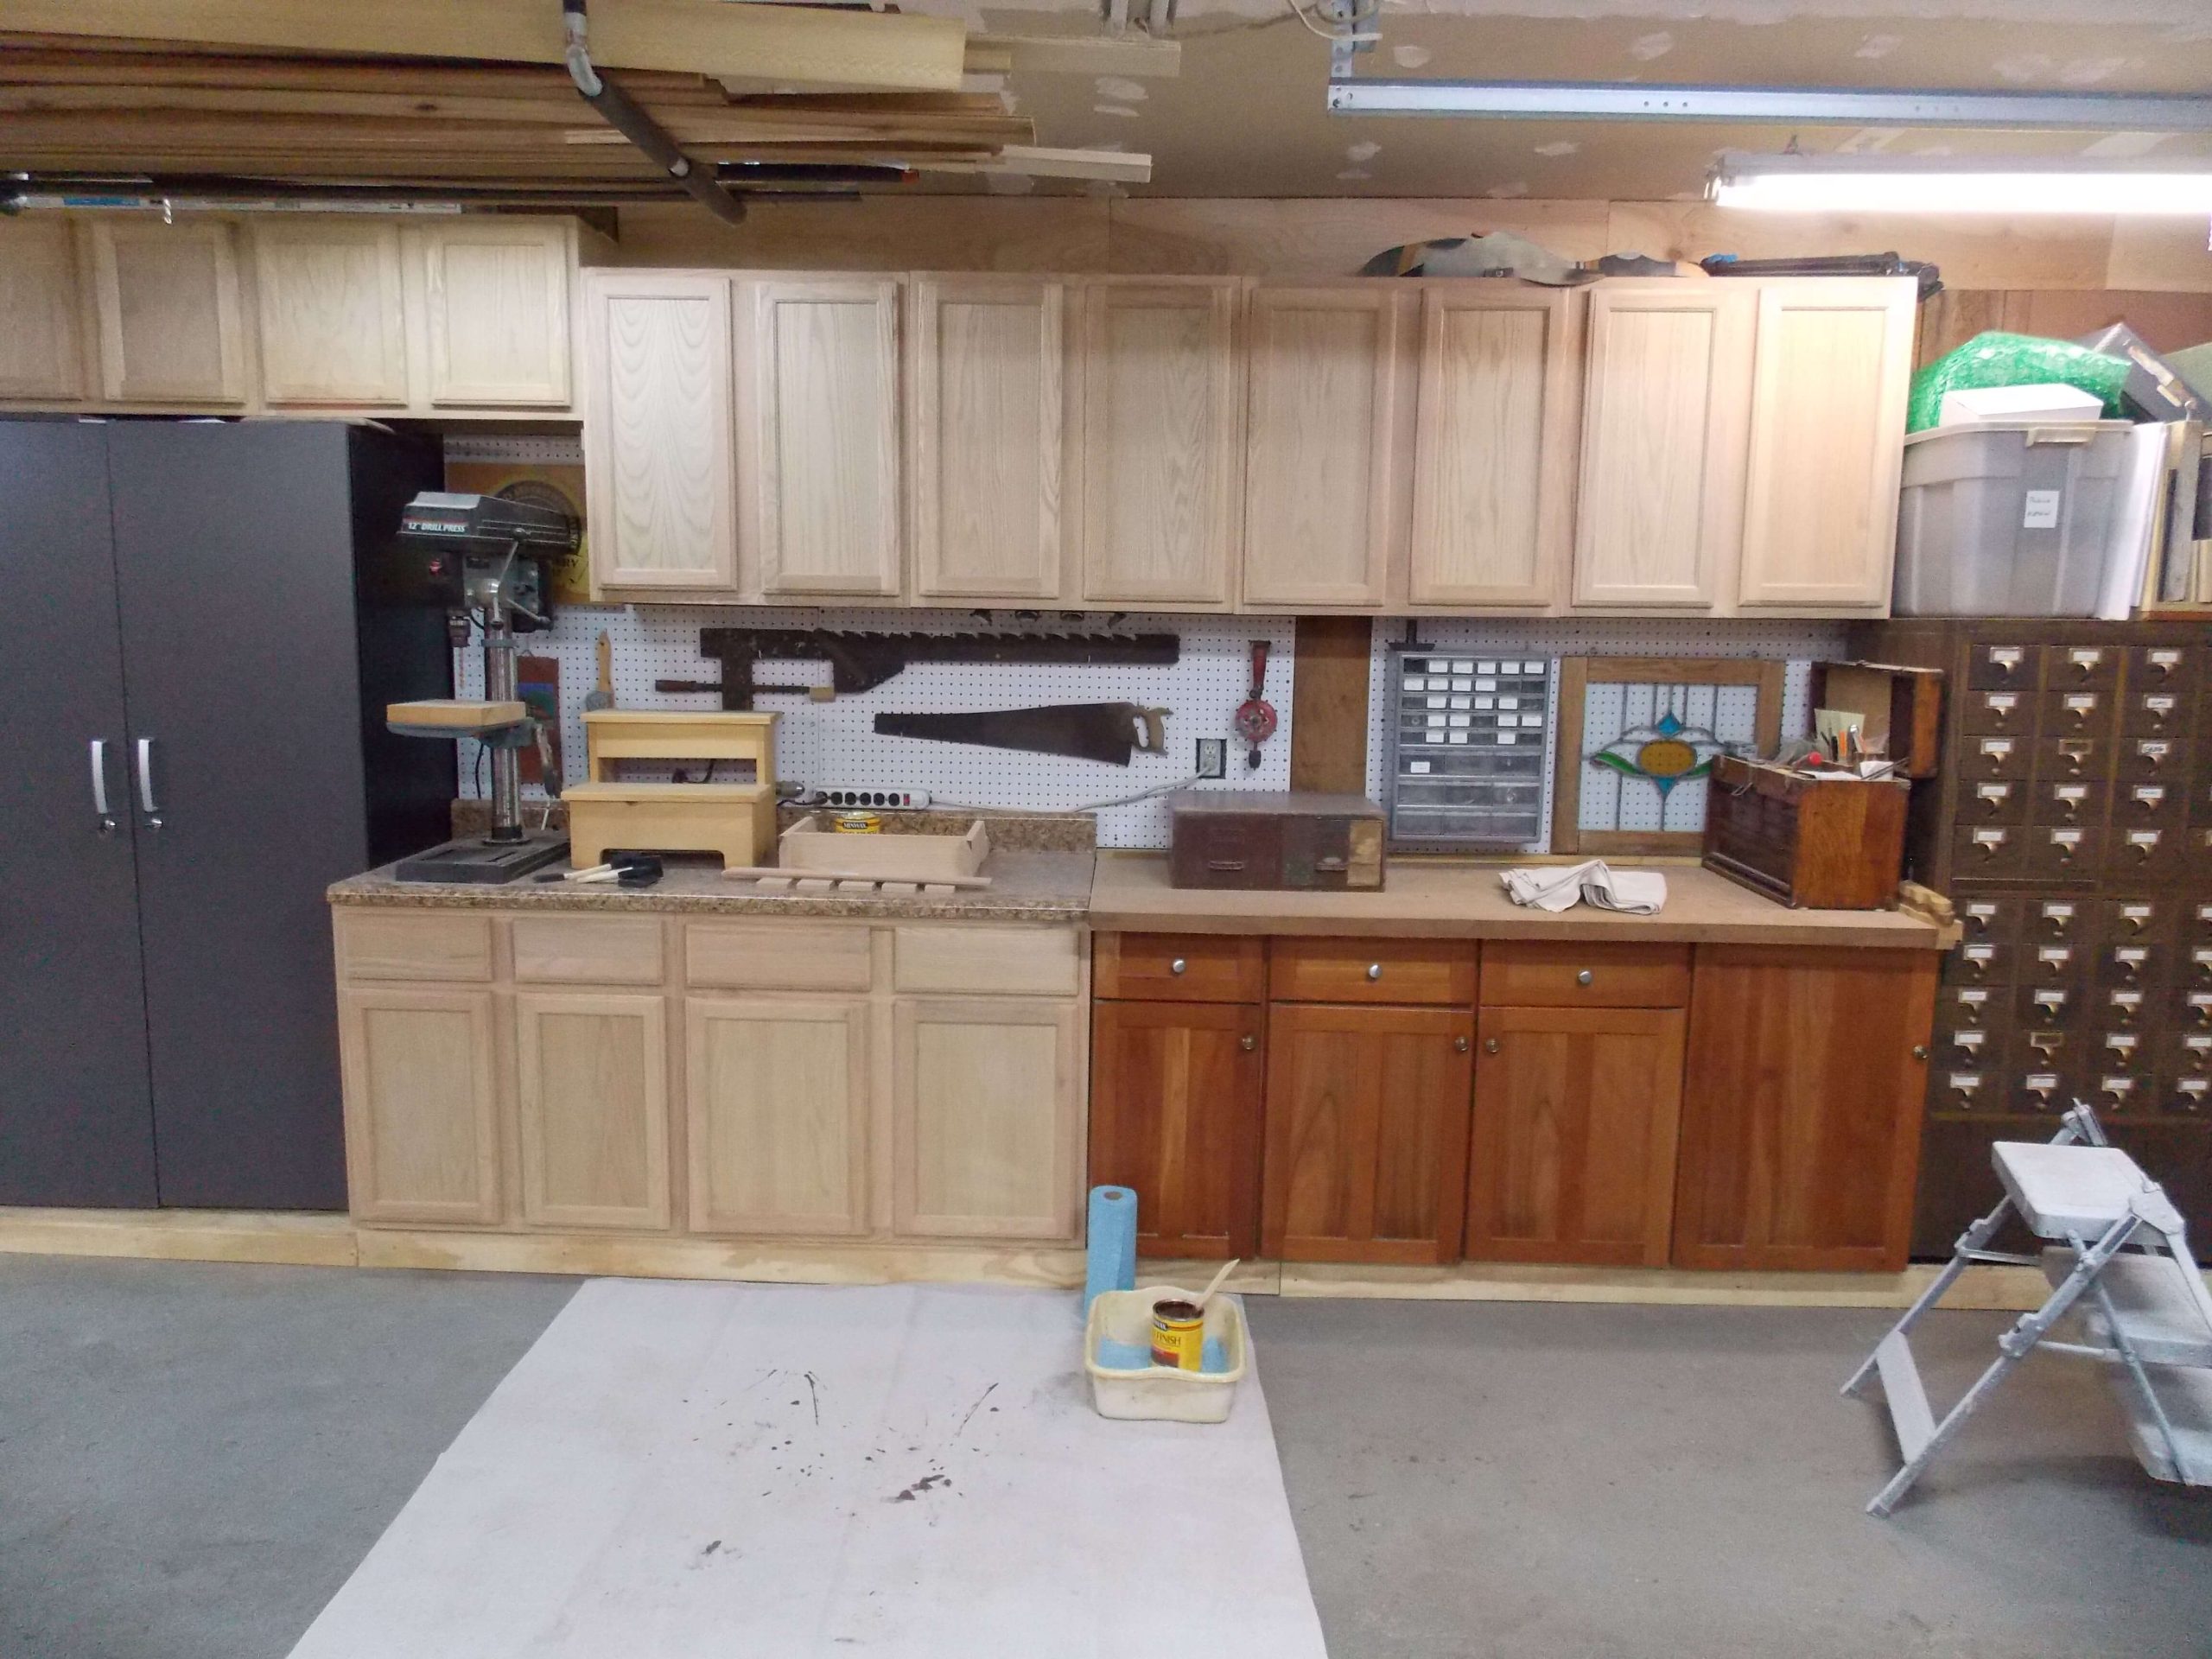
Image Source: www.highlandsdesigns.com
Why Finish Unfinished Cabinets?
Unfinished cabinets are just raw wood. They look nice, but they are not ready for a busy kitchen. Finishing them is very important.
- Protection from daily use: Kitchens are tough on cabinets. Food spills, grease, and water drops happen. A good finish protects the wood. It stops damage. It makes cabinets last longer.
- Enhance looks: A finish makes your cabinets beautiful. Paint gives a fresh, clean look. Stain shows off the wood’s natural grain. This makes your kitchen look great.
- Match kitchen style: You can pick any color or stain. This lets you match your cabinets to your kitchen’s style. You can make them modern, classic, or cozy.
Choosing Your Finish: Paint or Stain?
The first big choice is paint or stain. Both have good points and bad points. Think about how you want your kitchen to look.
Painting Unfinished Kitchen Cabinets
Painting is a popular choice. It can change the whole feel of your kitchen.
- Pros:
- Hides flaws: Paint covers small dents or wood marks. This means your cabinets will look perfect.
- Wide color choice: You can pick any color you like. There are so many options. This lets you make your kitchen unique.
- Modern look: Painted cabinets often give a fresh, clean, and modern feel. White, grey, or blue cabinets are very popular.
- Cons:
- Shows brush strokes: If you are not careful, you might see brush marks. This can make the finish look less smooth.
- Needs good prep: Painting needs a lot of cleaning and sanding. The surface must be perfect for the paint to stick well.
Staining New Kitchen Cabinets
Staining is great if you love the look of natural wood. It brings out the wood’s beauty.
- Pros:
- Shows wood grain: Stain sinks into the wood. It lets the natural patterns show through. This gives a warm, rich look.
- Classic look: Stained cabinets have a timeless appeal. They often feel cozy and traditional.
- Durable: A good stain with a clear topcoat can be very tough. It resists wear and tear well.
- Cons:
- Hard to fix mistakes: Stain soaks in. If you make a mistake, it is hard to remove. You might need to sand a lot.
- Color varies: How the stain looks depends on the wood. Even the same stain can look different on different pieces of wood. Always test it first.
Here is a quick look at paint versus stain:
| Feature | Painting Unfinished Kitchen Cabinets | Staining New Kitchen Cabinets |
|---|---|---|
| Appearance | Solid color, hides wood grain. Modern, clean look. | Shows wood grain, rich natural look. Classic, warm feel. |
| Color Options | Limitless colors. | Limited to wood tones, but many shades. |
| Prep Work | Needs good cleaning, sanding, and priming. | Needs good cleaning, sanding, and wood conditioner. |
| Ease of Use | Forgiving of small wood flaws. Paint can be tricky to apply smoothly. | Less forgiving of mistakes. Application can be easier if wood prepped. |
| Durability | Very durable with a good primer and topcoat. | Very durable with a good topcoat. |
| Repair | Easier to touch up or repaint. | Harder to touch up. May need full re-sanding for bad spots. |
Essential Tools and Materials
Before you start, get all your tools ready. Having everything at hand makes the job easier and faster.
For All Finishes
These items are needed no matter if you paint or stain.
- Safety gear:
- Gloves: Protect your hands from chemicals.
- Mask (respirator): Protects your lungs from dust and fumes.
- Safety glasses: Protect your eyes.
- Drop cloths or plastic sheeting: Cover your floors and nearby items. This keeps them clean.
- Screwdriver or drill: To take off cabinet doors and hardware.
- Sandpaper: You will need different grits.
- 120-150 grit: For initial sanding of raw wood.
- 180-220 grit: For smoothing after initial sanding and between coats of primer/paint.
- 320-400 grit: For very light sanding between topcoat layers.
- Sanding block or random orbital sander: Helps sand evenly. A sander saves time.
- Tack cloth: Special sticky cloths to pick up fine dust.
- Vacuum with brush attachment: To clean up sanding dust.
- Wood filler: To fill any small holes or dents in the wood.
- Clean rags: For wiping, cleaning, and applying stain.
- Denatured alcohol or mineral spirits: For cleaning wood before sanding (if needed for greasy spots).
For Painting
If you choose to paint, you will need these extra items.
- Best primer for new cabinets: This is a must. It helps paint stick and look even. Oil-based or shellac-based primers are often best for raw wood. They block wood tannins. They also create a smooth surface.
- Paint: Choose a high-quality paint made for cabinets. Acrylic-latex or alkyd (oil-modified water-based) paints are good. They are durable. They clean well.
- Paint brushes: High-quality synthetic brushes for water-based paint. Natural bristles for oil-based paint. Good for edges and small areas.
- Rollers: Small foam rollers or fine-nap rollers (like 1/4 inch or 3/8 inch nap). These help you get a smooth finish with fewer marks.
- Paint sprayer (optional): A sprayer gives the smoothest finish. It needs more setup and cleaning. It is faster for big jobs.
- Painter’s tape: To protect areas you do not want to paint.
- Clear coat for kitchen cabinets (topcoat): This protects the paint. It adds durability. A water-based polyurethane is a common choice. It dries clear and does not yellow much.
For Staining
If you choose to stain, you will need these special items.
- Wood conditioner: This is very important for even staining. It helps the wood soak up stain evenly. This avoids blotchy spots.
- Wood stain: Pick your desired color. Oil-based stains are popular. Gel stains can also work well.
- Applicators: Foam brushes or clean rags (old t-shirts work well) for applying stain.
- Clear coat for kitchen cabinets (topcoat): Like with paint, a clear topcoat protects the stain. It adds durability. Oil-based polyurethane is very tough. Water-based polyurethane is also good.
The DIY Kitchen Cabinet Finishing Steps: A Detailed Plan
Finishing cabinets is a step-by-step process. Do not rush any step. Each part is important for a good final look.
Step 1: Planning and Setup
Good planning saves time and trouble later.
- Pick your finish: Decide if you will paint or stain. This choice guides all your other steps and material choices.
- Gather all tools and materials: Make a list. Buy everything before you start. This stops delays.
- Set up a clean, well-lit workspace:
- Good air flow is key: Open windows. Use fans. This helps fumes leave. It helps paint and stain dry.
- Protect your area: Lay down drop cloths or plastic sheets. Cover floors, counters, and anything you do not want to get messy.
- Work surfaces: Set up sawhorses or covered tables. This lets you work on cabinet doors flat. This is better for even drying.
Step 2: Taking Apart Your Cabinets
Take your time with this step. Labeling parts is very important.
- Take off all doors and drawer fronts: Use your screwdriver or drill. Keep the screws safe. Put them in labeled bags.
- Mark them for reassembly: Use small pieces of painter’s tape. Write a number on each door and its matching cabinet frame spot. For example, “Door 1,” “Cabinet Frame 1.” This makes putting them back together easy.
- Remove all hardware (hinges, handles): Put all hardware, including screws, into labeled bags. Keep them separate for each door. You might want to clean or replace old hardware.
Step 3: Prepping Unfinished Cabinets for Paint or Stain
This is the most important step for a good finish. Do not skip or rush it. Prepping unfinished cabinets for paint (or stain) is all about making a clean, smooth surface.
- Cleaning:
- Wipe down all parts. Use a damp cloth to remove dust.
- If the wood has any grease or dirt, use a mild cleaner. A mix of water and dish soap works. Or use denatured alcohol. Let the wood dry completely.
- Sanding unfinished cabinet doors and frames: Sanding creates a surface the finish can stick to. It also makes the wood smooth.
- Start with rough grit (120-150) for raw wood: This first sanding opens the wood grain. It removes any small marks from the factory. Sand with a sanding block or orbital sander.
- Move to finer grit (180-220) for a smooth finish: After the first sanding, use a finer grit. This smooths out any sanding marks. It makes the wood very soft to the touch.
- Sand with the wood grain: Always sand in the direction of the wood grain. Sanding across the grain will leave scratches. These scratches will show through the finish.
- Remove all dust with a tack cloth or vacuum: After sanding, there will be fine dust. This dust can ruin your finish. Use a vacuum with a brush. Then use a tack cloth. Wipe all surfaces well. This is very important. Do not miss any dust.
- Repairing flaws:
- Look closely at all surfaces. Fill any small holes, dents, or gaps with wood filler.
- Apply filler with a putty knife. Make it smooth.
- Let the filler dry fully. Read the product label for drying times.
- Sand the repaired spots smooth with 180-220 grit sandpaper. Again, remove all dust.
Step 4: Sealing Raw Wood Cabinets (Crucial Step)
This step prepares the wood for the actual finish. It helps the final coat look even and rich. Sealing raw wood cabinets is key for a lasting finish.
- For Staining:
- Apply wood conditioner: Raw wood can soak up stain unevenly. This leads to blotchy spots. Wood conditioner helps the wood soak up the stain evenly.
- Apply the conditioner to all surfaces. Use a brush or rag.
- Let it dry as per product rules. This is usually 5-15 minutes. Do not let it dry too long. Apply stain while the conditioner is still slightly damp or within the recommended window.
- For Painting:
- Best primer for new cabinets: A good primer is vital. It does many things:
- It seals the wood.
- It blocks stains from wood tannins (natural wood colors that can bleed through paint).
- It helps the topcoat paint stick better.
- It creates a smooth, even base for the paint color.
- Choose a high-quality primer. For raw wood, oil-based or shellac-based primers are often best. They offer excellent stain blocking. Water-based primers can work but may need more coats.
- Apply a thin, even coat of primer. Use a brush or roller. Avoid drips.
- Let it dry fully. Check the can for drying times.
- Sand lightly if needed (220 grit). This smooths any rough spots or brush marks from the primer.
- Clean off all dust with a tack cloth before painting.
- Best primer for new cabinets: A good primer is vital. It does many things:
Step 5: Applying Your Finish
Now for the fun part: adding color or bringing out the wood’s natural beauty.
- Option A: Painting Unfinished Kitchen Cabinets
- Applying paint: Always apply thin, even coats. Thick coats can drip and take longer to dry. They also do not stick as well.
- Use a good quality brush for edges and corners. Use a foam roller or fine-nap roller for flat surfaces. Roll in one direction.
- Two to three coats are common. More coats may be needed for very light colors over dark wood.
- Let each coat dry fully. Read the paint can for drying times. This is very important. Rushing this step will lead to a bad finish.
- Lightly sand between coats (220 grit) for a smoother finish. This removes any small bumps or dust.
- Clean dust with a tack cloth before the next coat.
- Option B: Staining New Kitchen Cabinets
- Applying stain: Apply stain evenly. Use a clean cloth or foam brush.
- Work in small areas at a time. This helps you control the color.
- Apply the stain, let it sit for a few minutes (check product directions), then wipe off extra stain.
- Wiping off extra is key. If you leave too much stain, it will not dry well. It will also be sticky.
- Check color as you go. You can add more coats for a darker color. But remember, it is easier to add more stain than to remove it.
- Let it dry well. Stain needs time to dry fully before the topcoat. This can be 24-48 hours. Follow the product’s instructions.
Step 6: Applying Topcoat to Kitchen Cabinets (Clear Coat for Kitchen Cabinets)
This is the final protective layer. It makes your finish durable and long-lasting. Applying topcoat to kitchen cabinets is crucial.
- This step protects your finish. It guards against scratches, water, and daily wear.
- Choose a durable topcoat.
- Polyurethane: Very popular. It comes in water-based and oil-based types.
- Water-based polyurethane: Dries faster. Cleans with water. Does not yellow much over time, especially over white paint.
- Oil-based polyurethane: Very tough and durable. Can give a slight amber (yellow) tint over time, which might be a good thing for stained wood, but not for white paint.
- Lacquer: Dries very fast. Gives a hard, smooth finish. Needs special spray equipment. Best for pros.
- Varnish: Also very durable, often used for floors. Can be thicker and slower to dry.
- Polyurethane: Very popular. It comes in water-based and oil-based types.
- Apply thin, even coats. Two to three coats are often needed for good protection. More coats mean more durability.
- Use a good quality brush or foam applicator. For large flat areas, a foam roller can work well.
- Lightly sand between coats with very fine grit (320-400) if needed. This smooths out any dust bumps or small flaws. It also helps the next coat stick better.
- Clean all dust with a tack cloth after sanding.
- Allow full cure time. This is very important. The finish might feel dry in a few hours. But it takes days or even weeks for it to fully harden. Do not put weight on cabinets or use them roughly until fully cured. This prevents marks or damage.
Protecting Finished Kitchen Cabinets: Long-Term Care
Once your cabinets are done, keep them looking good. Protecting finished kitchen cabinets is simple but important.
- Clean spills right away: Water, food, or grease can hurt the finish if left too long. Wipe them up fast.
- Use soft cloths for cleaning: Microfiber cloths are good. Avoid rough sponges or scrubbers.
- Avoid harsh chemicals: Do not use abrasive cleaners, strong chemicals, or ammonia-based sprays. These can strip or dull the finish. A damp cloth with mild soap is usually enough.
- Use cabinet liners: Put liners in drawers and on shelves. This protects the inside from scratches and spills.
- Protect from heat and moisture: Use heat shields near the oven. Avoid placing wet items directly on cabinet surfaces. Fix any leaks right away.
Common Mistakes to Avoid
Finishing cabinets is a big job. Knowing common mistakes can help you get it right the first time.
- Skipping prep steps: Not cleaning or sanding enough is the biggest mistake. The finish will not stick well. It will peel or look bad. Prep is about 80% of the job.
- Applying thick coats: This leads to drips, uneven drying, and peeling. Many thin coats are always better than one thick coat.
- Not letting coats dry fully: If you put a new coat over a wet coat, it will mess up the finish. It can trap moisture. It can make the finish weak. It can make it peel. Always check the drying times.
- Not sanding between coats: Skipping this step makes the finish less smooth. It can also cause problems with adhesion.
- Using the wrong products: Do not use wall paint on cabinets. Use primers and topcoats made for wood and high-traffic areas. They are made to be durable.
Frequently Asked Questions (FAQ)
Here are answers to common questions about finishing kitchen cabinets.
How long does it take to finish kitchen cabinets?
Finishing kitchen cabinets is not a fast job. It usually takes several days, often a full week or more. This is because each coat of primer, paint/stain, and topcoat needs time to dry fully. You also need time for sanding and prep. For example, a full kitchen might take:
* Day 1: Disassemble, clean, first sanding.
* Day 2: Primer/conditioner, first coat of paint/stain.
* Day 3: Second coat of paint/stain (if needed), first topcoat.
* Day 4-7+: More topcoats, drying, curing time.
Do not rush the drying times. This is key to a lasting finish.
Can I use spray paint on kitchen cabinets?
Yes, you can use spray paint or a paint sprayer. A sprayer gives the smoothest, most factory-like finish. It avoids brush marks. However, spray painting needs more setup. You need to protect everything around your work area from overspray. It also needs good ventilation. The sprayer itself needs to be cleaned well after each use. If you use aerosol spray paint, make sure it is a high-quality product made for furniture or cabinets.
Do I need to sand unfinished cabinets before painting?
Yes, you must sand unfinished cabinets before painting or staining. Even raw wood can have factory marks or be uneven. Sanding does two things:
1. It smooths the wood surface. This helps the finish look even.
2. It creates a rough surface for the primer or stain to stick to. Without sanding, the finish might not bond well. It could chip or peel later. Start with 120-150 grit and finish with 180-220 grit.
What type of wood is best for unfinished cabinets?
The best type of wood depends on your budget and desired look.
* Maple: Very smooth, fine grain. Takes paint well. Stains evenly. It is quite durable.
* Cherry: Rich, warm color. Darkens with age. Looks great with stain. Can be pricey.
* Oak: Strong, open grain (visible texture). Looks good with stain. Can be tricky to paint due to grain.
* Birch: Similar to maple, but slightly softer. Takes paint well. Good for a uniform look.
* Poplar: Softer wood. Takes paint very well. Often used for painted cabinets because it is cheaper.
For painting, woods with a tight grain (like maple or birch) are often preferred. For staining, any of these can work, but consider how the wood grain will show.
How do I clean my finished kitchen cabinets?
For regular cleaning, simply use a soft, damp cloth. For sticky spots, add a small amount of mild dish soap to warm water. Dampen the cloth, wipe the cabinets, then wipe dry with a clean, soft cloth. Always dry the cabinets immediately to prevent water spots or damage. Avoid harsh cleaners, ammonia-based products, or abrasive scrubbers, as these can damage the finish over time.
Final Thoughts on Finishing Your Cabinets
Finishing your unfinished kitchen cabinets is a big project. But it is very rewarding. It lets you create a custom look for your home. By taking your time, doing each step well, and using the right tools, you will get a beautiful, lasting finish. Your efforts will result in a kitchen you love. Enjoy your newly finished cabinets!