
Image Source: i.ytimg.com
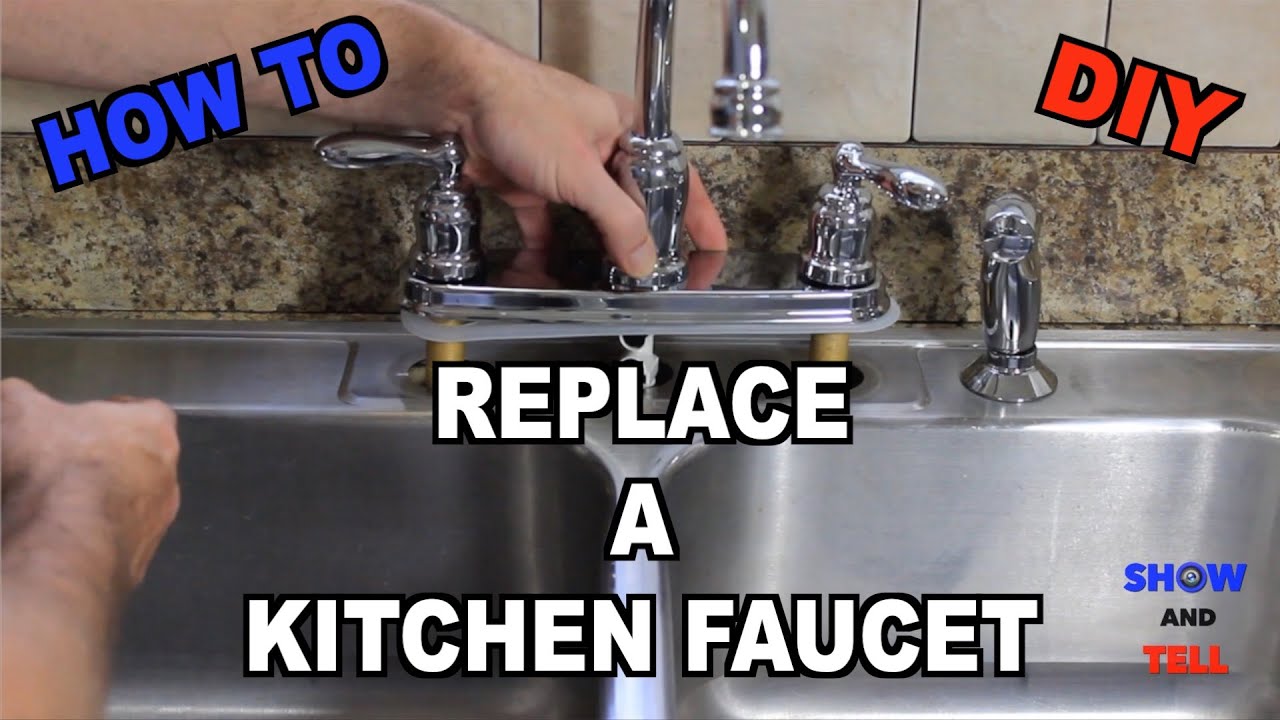
How to Fix the Faucet in Kitchen Sink: Stop Leaks Fast
Can you fix a dripping kitchen faucet yourself? Yes, most common kitchen faucet leaks can be fixed with basic tools and a bit of patience, turning a costly plumbing repair for sinks into a simple DIY project. This guide will walk you through the steps to tackle that annoying dripping kitchen faucet repair, helping you stop leaks fast and save water.
Why Your Faucet is Dripping
A leaky faucet can be more than just an annoyance; it wastes water and can increase your utility bills. The most common culprits behind a water drip fix are worn-out washers, O-rings, or a faulty faucet cartridge replacement. Over time, these small rubber or plastic parts degrade due to mineral buildup and constant friction, losing their seal and allowing water to seep through.
Gathering Your Tools and Supplies
Before you start your DIY faucet repair, it’s essential to have the right tools and supplies ready. This will make the process smoother and prevent you from having to stop midway to fetch something.
Essential Tools:
- Adjustable Wrench: For loosening and tightening various nuts and bolts.
- Phillips and Flathead Screwdrivers: For removing handle screws and other small parts.
- Pliers: Needle-nose pliers are particularly useful for gripping small parts.
- Allen Wrench Set: Many faucet handles are secured with Allen screws.
- Plumber’s Grease or Silicone Grease: To lubricate parts and ensure a good seal.
- Rag or Towel: To protect surfaces and catch drips.
- Bucket: To catch any residual water from the pipes.
- Old Toothbrush: For cleaning mineral deposits.
Essential Supplies:
- Replacement Washers: These come in various sizes, so it’s good to have a variety pack.
- Replacement O-rings: Similar to washers, O-rings can also wear out.
- Replacement Cartridge: If your faucet uses a cartridge, this is a key part to replace.
- Plumber’s Tape (PTFE Tape): For sealing threaded connections.
Step-by-Step Guide to Fixing a Dripping Kitchen Faucet
The process for fixing a leaky faucet largely depends on the type of faucet you have. The two most common types are compression faucets and cartridge faucets.
Fixing a Compression Faucet
Compression faucets are the older style and work by using rubber washers to stop the water flow.
Step 1: Turn Off the Water Supply
This is the most crucial first step. Look under your sink for two shut-off valves, one for hot water and one for cold. Turn these valves clockwise until they are firmly closed. If you can’t find or operate these valves, you’ll need to turn off the main water supply to your house. To test if the water is off, turn on the faucet; no water should come out.
Step 2: Remove the Faucet Handle
You’ll typically find a decorative cap on top of or on the side of the handle. Gently pry this cap off with a flathead screwdriver. Underneath, you’ll see a screw. Unscrew this, and the handle should lift off. If the handle is stuck, you might need a handle puller.
Step 3: Access the Valve Stem
Once the handle is off, you’ll see a packing nut. Use an adjustable wrench to loosen and remove the packing nut. After the packing nut is removed, you should be able to unscrew and pull out the valve stem.
Step 4: Replace the Washer and O-ring
At the base of the valve stem, you’ll find a rubber washer held in place by a screw. Unscrew this old washer and replace it with a new one of the same size. Also, check for an O-ring around the stem itself. If it looks worn or cracked, replace it. Lubricate the new O-ring with plumber’s grease before installing it.
Step 5: Reassemble the Faucet
Insert the valve stem back into the faucet body. Screw the packing nut back on and tighten it with the wrench. Place the handle back on and secure it with the screw. Replace the decorative cap.
Step 6: Turn On the Water and Test
Slowly turn the water supply valves back on. Check for any leaks. If the dripping has stopped, congratulations on your successful DIY faucet repair!
Fixing a Cartridge Faucet
Cartridge faucets are more modern and use a removable cartridge to control water flow.
Step 1: Turn Off the Water Supply
As with compression faucets, turn off the hot and cold water supply valves under the sink. Test by turning on the faucet.
Step 2: Remove the Faucet Handle
Cartridge faucet handles usually have a decorative cover, often with a small hole on the side or back. You might need to remove a set screw using an Allen wrench. Once the screw is out, the handle should pull off.
Step 3: Remove the Cartridge
You’ll see a retaining clip or nut holding the cartridge in place. Carefully remove this clip or nut. Some cartridges might have a threaded retaining ring that needs to be unscrewed. Once the clip or nut is off, you can pull the cartridge straight up and out. A pair of pliers might be needed to gently wiggle it free.
Step 4: Replace the Cartridge
Take the old cartridge to your local hardware store to find an exact match. This is crucial for a faucet cartridge replacement. Once you have the new cartridge, apply a thin layer of plumber’s grease to the O-rings on the new cartridge. Insert the new cartridge into the faucet body, ensuring it’s oriented correctly.
Step 5: Reassemble the Faucet
Secure the new cartridge with the retaining clip or nut. Reattach the faucet handle and tighten the set screw. Replace the decorative cover.
Step 6: Turn On the Water and Test
Turn the water supply valves back on slowly. Check for leaks around the handle and spout. If everything is sealed properly, your water drip fix is complete.
Addressing a Loose Faucet Handle
Sometimes, the issue isn’t a drip but a wobbly or loose faucet handle. This is often a simple fix and part of regular kitchen sink faucet maintenance.
Steps to Fix a Loose Faucet Handle:
- Locate the Set Screw: Most faucet handles have a small set screw, often hidden under a decorative cap or plug.
- Tighten the Screw: Pry off the cap with a flathead screwdriver. Use the appropriate screwdriver or Allen wrench to tighten the set screw.
- Test the Handle: Once tightened, check if the handle is secure. If it’s still loose, the handle itself might be stripped, or there might be an issue with the internal spline.
When to Consider a Leaky Faucet Valve Replacement
If you’ve replaced the washer and O-rings in a compression faucet, and it’s still leaking, the valve seat might be the problem. The valve seat is where the washer presses against to create a seal.
Steps for Leaky Faucet Valve Replacement:
- Access the Valve Seat: After removing the valve stem (as described in the compression faucet section), you’ll see the valve seat at the bottom of the faucet body.
- Inspect and Clean: Clean any mineral deposits from the valve seat using an old toothbrush.
- Remove the Valve Seat (if necessary): Some valve seats are removable. You might need a special valve seat wrench to unscrew and replace it.
- Install a New Valve Seat: If the valve seat is damaged, replace it with a new one. Screw it in snugly.
- Reassemble: Put the valve stem, packing nut, and handle back together. Turn on the water and test for leaks.
Troubleshooting Common Faucet Issues
Even with careful work, you might encounter a few hiccups. Here’s how to deal with them:
- Stubborn Parts: If a nut or screw is stuck, try applying a penetrating lubricant and letting it sit for a few minutes. Gentle tapping with a wrench can also help loosen it.
- Wrong Replacement Part: Always try to identify the exact make and model of your faucet. If you can’t, take the old parts to the store for matching.
- Persistent Leaks: If you’ve replaced the cartridge or washer and it’s still dripping, there might be damage to the faucet body itself, or you might need to re-examine the valve seat. In such cases, it might be time to call a professional plumber or consider a kitchen faucet installation.
When to Call a Professional
While many faucet repairs are straightforward DIY projects, there are times when it’s best to call in a professional plumber.
Signs You Need a Professional:
- You’re uncomfortable with the repair: If you don’t feel confident or capable of performing the repair, it’s safer to call an expert.
- The leak persists after multiple attempts: If you’ve tried replacing parts and the leak continues, there may be a more complex issue.
- The faucet is old and corroded: Very old or corroded faucets can be difficult to disassemble and may break during repair.
- You’ve damaged the faucet: If you accidentally crack a pipe or break a faucet part, a professional can fix it properly.
- You need a new faucet installed: For a new kitchen faucet installation, a plumber can ensure it’s fitted correctly and efficiently.
Table: Common Faucet Problems and Solutions
| Problem | Likely Cause | Solution |
|---|---|---|
| Dripping from the spout | Worn washer, O-ring, or cartridge | Replace washer, O-ring, or cartridge. |
| Leaking around the handle | Loose packing nut, worn O-ring, or faulty cartridge | Tighten packing nut, replace O-ring, or replace cartridge. |
| Loose faucet handle | Loose set screw | Tighten the set screw. |
| Water flow is weak or inconsistent | Clogged aerator or mineral buildup in the cartridge | Clean the aerator or replace the cartridge. |
| Water temperature is hard to control | Faulty cartridge or mixing valve issues | Replace cartridge or consult a plumber for valve issues. |
| Leaking from under the sink | Loose water supply line connections | Tighten supply line connections or replace faulty connectors. |
Kitchen Sink Faucet Maintenance Tips
Regular maintenance can prevent many common problems and extend the life of your faucet.
Regular Cleaning:
- Wipe down your faucet daily: This prevents water spots and mineral buildup. Use a soft cloth and mild soap.
- Clean the aerator: The aerator is at the tip of the spout and can get clogged with sediment, reducing water flow. Unscrew it, soak it in vinegar, and scrub it with an old toothbrush.
Seasonal Checks:
- Inspect for drips: Pay attention to any signs of dripping and address them promptly.
- Check for leaks under the sink: Ensure all connections are tight and there are no signs of water damage.
Avoiding Damage:
- Don’t overtighten: Overtightening handles or nuts can damage internal components.
- Use the right tools: Using pliers on decorative finishes can scratch them. Use a wrench with a cloth to protect the finish.
Frequently Asked Questions (FAQ)
Q1: How often should I replace faucet parts?
A1: The lifespan of faucet parts varies depending on water quality and usage. However, it’s common to replace washers or O-rings every 3-5 years, or sooner if you notice leaks. Cartridges might last longer, but a faucet cartridge replacement is often needed when leaks occur in cartridge faucets.
Q2: What if I can’t find the exact replacement cartridge?
A2: Take your old cartridge to a plumbing supply store or a well-stocked hardware store. They can help you identify a compatible replacement, even if it’s not the exact original brand. Sometimes, a universal cartridge might work, but it’s best to get a precise fit for optimal performance.
Q3: Can I fix a leak without turning off the water supply?
A3: While you can sometimes stop a minor drip by carefully replacing a washer or O-ring quickly, it’s highly recommended to always turn off the water supply. This prevents a flood and makes the repair process much safer and less messy. Trying to do a plumbing repair for sinks without shutting off the water is risky.
Q4: My faucet handle is loose, but I can’t find a set screw. What do I do?
A4: Some older or different faucet designs might not have a visible set screw. The handle might be held on by a screw under a decorative cap or even by threading directly onto the stem. Carefully inspect the handle for any hidden covers or threads. If you’re still unsure, consult your faucet’s manual or look for identifying marks on the faucet to search for repair guides online.
Q5: Is it cheaper to fix a faucet myself or hire a plumber?
A5: For simple repairs like replacing a washer or cartridge, a DIY faucet repair is almost always cheaper. The cost of parts is minimal compared to a plumber’s labor charge. However, if you lack the tools or confidence, or if the problem is complex, hiring a professional might save you from making costly mistakes. For a brand new kitchen faucet installation, the cost is usually comparable, but professional installation ensures it’s done right.
By following these steps, you can effectively tackle most common faucet leaks and keep your kitchen sink running smoothly. Remember, preventative kitchen sink faucet maintenance is key to avoiding bigger problems down the line.